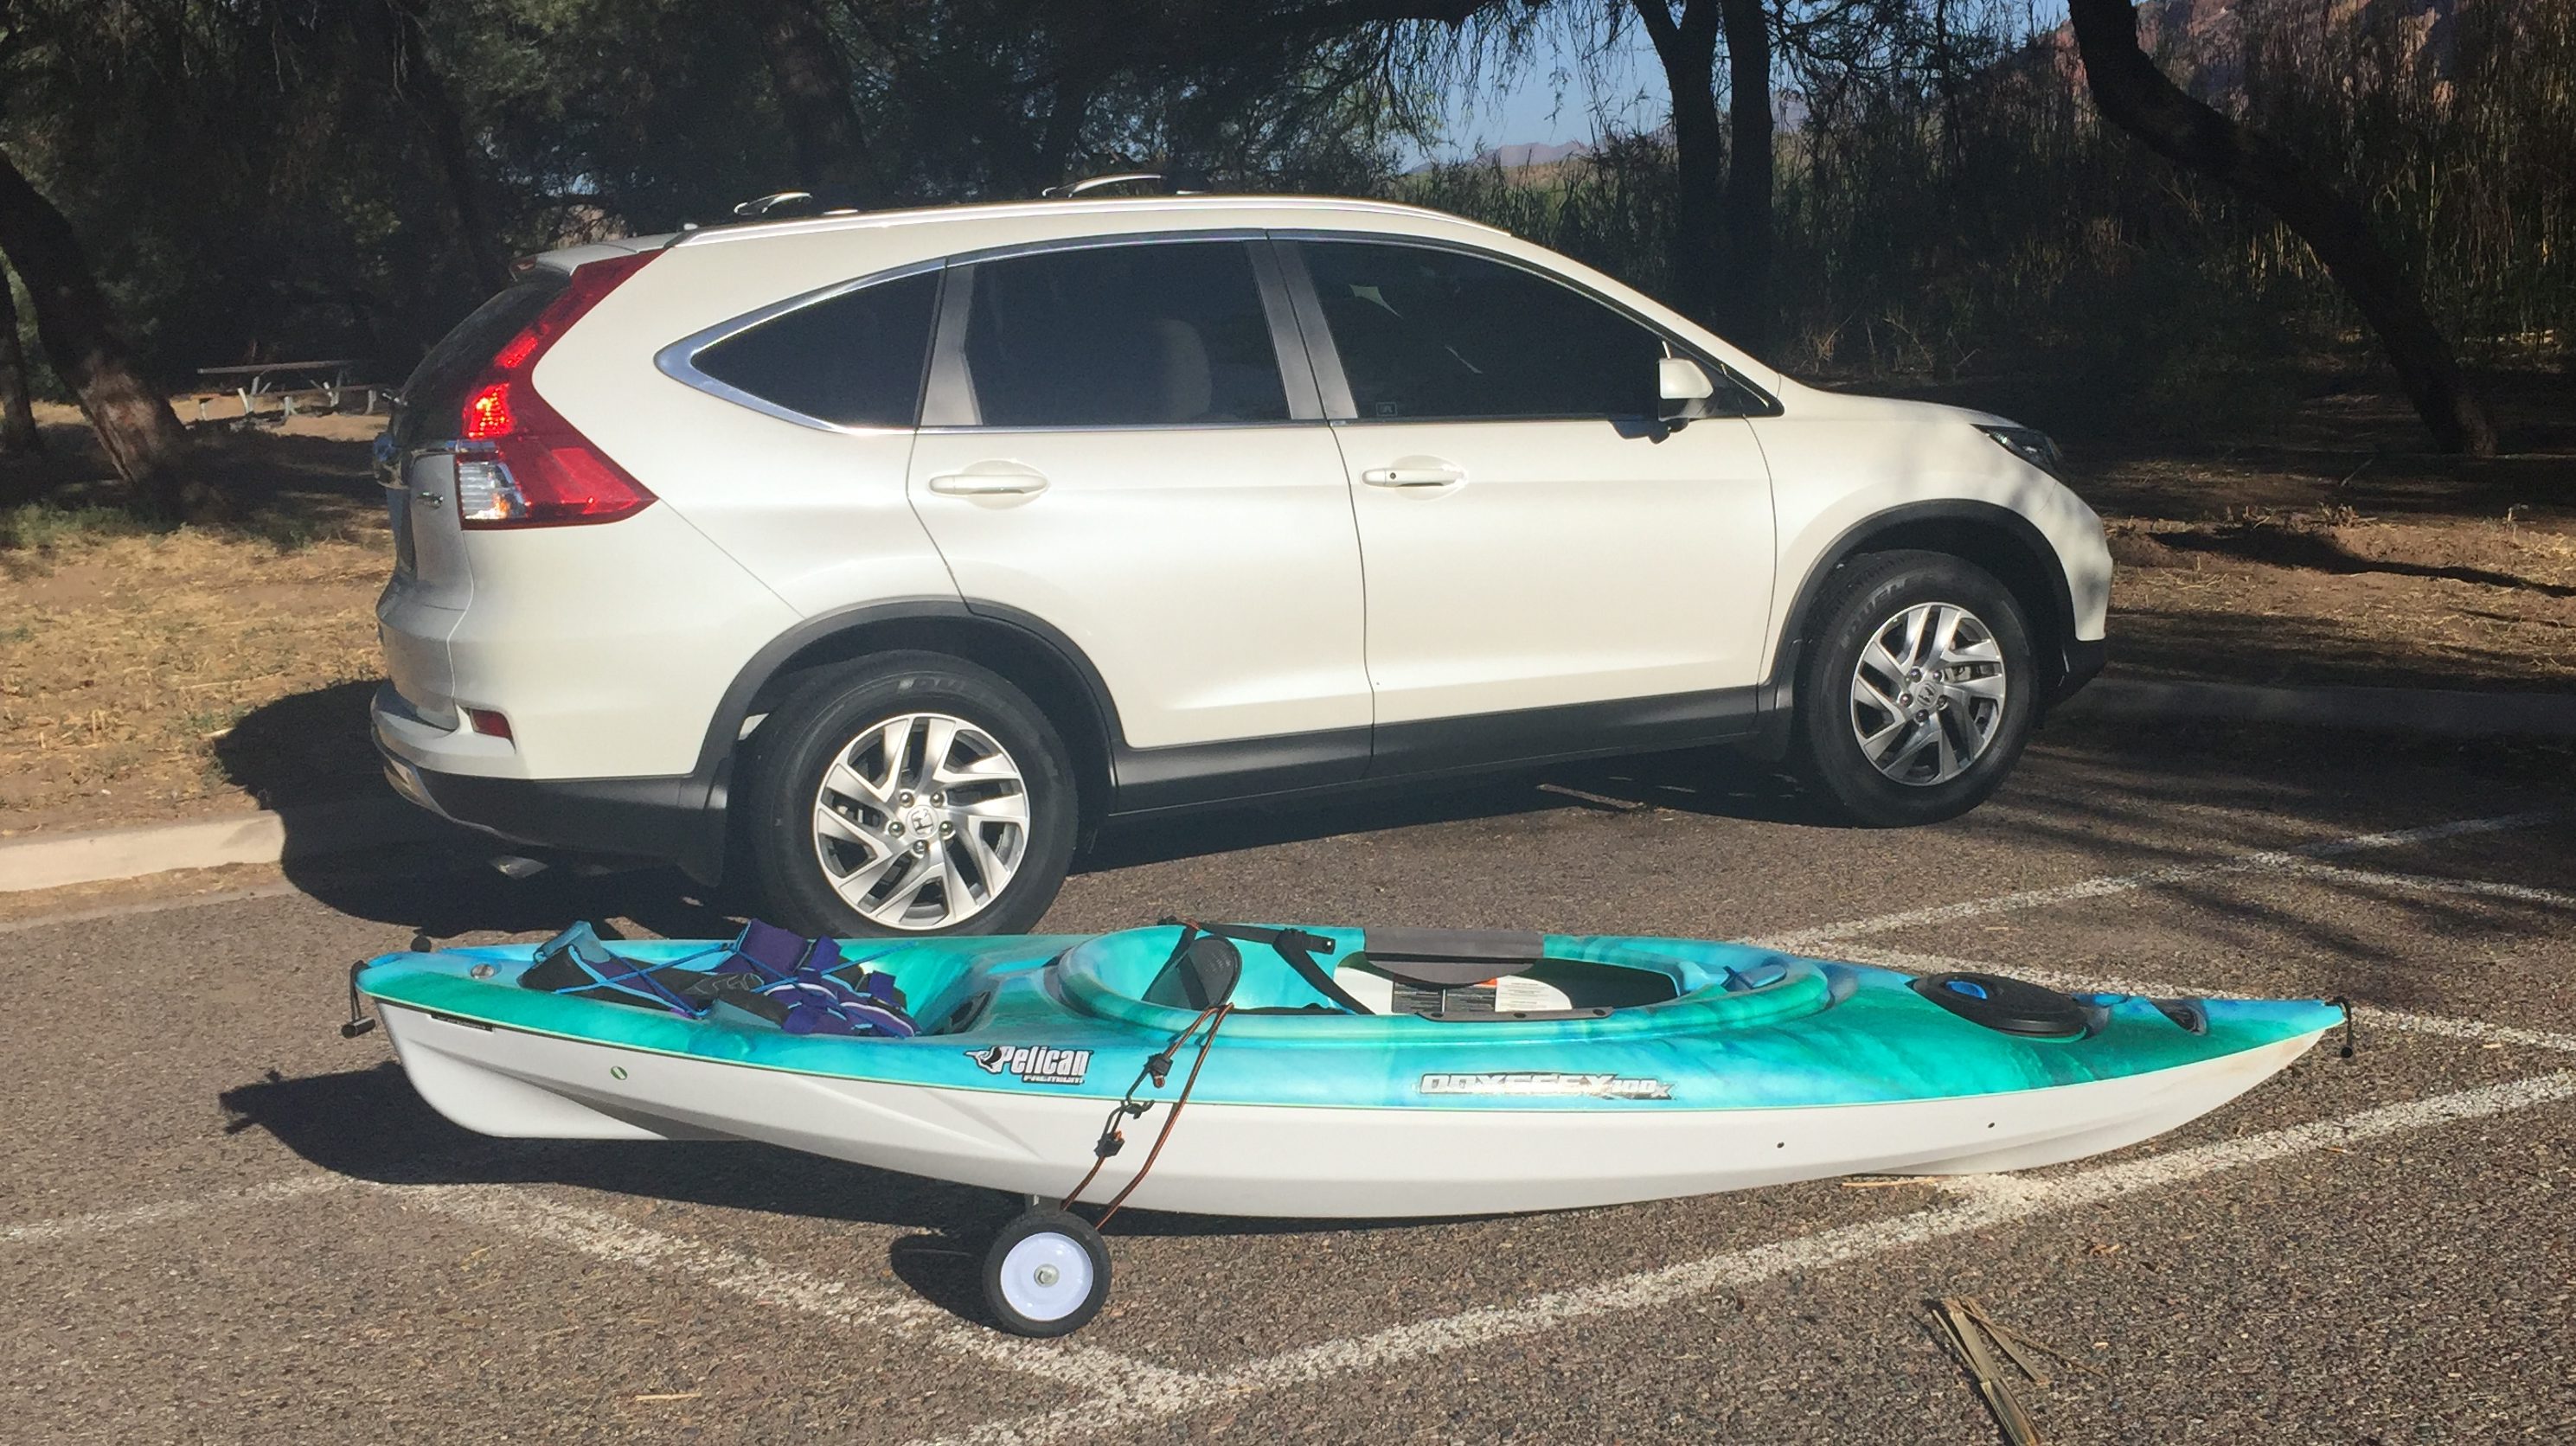
I got a new kayak this weekend. I was proud of myself for hoisting the 40 lb boat on top of my car and strapping it to the roof. It was a pain in the butt to haul the boat from my car to the water by myself, but it was doable. The way back to the car after a few hours of paddling was a different story. Thankfully, someone else at the lake took pity on me and helped me carry the kayak to my car.
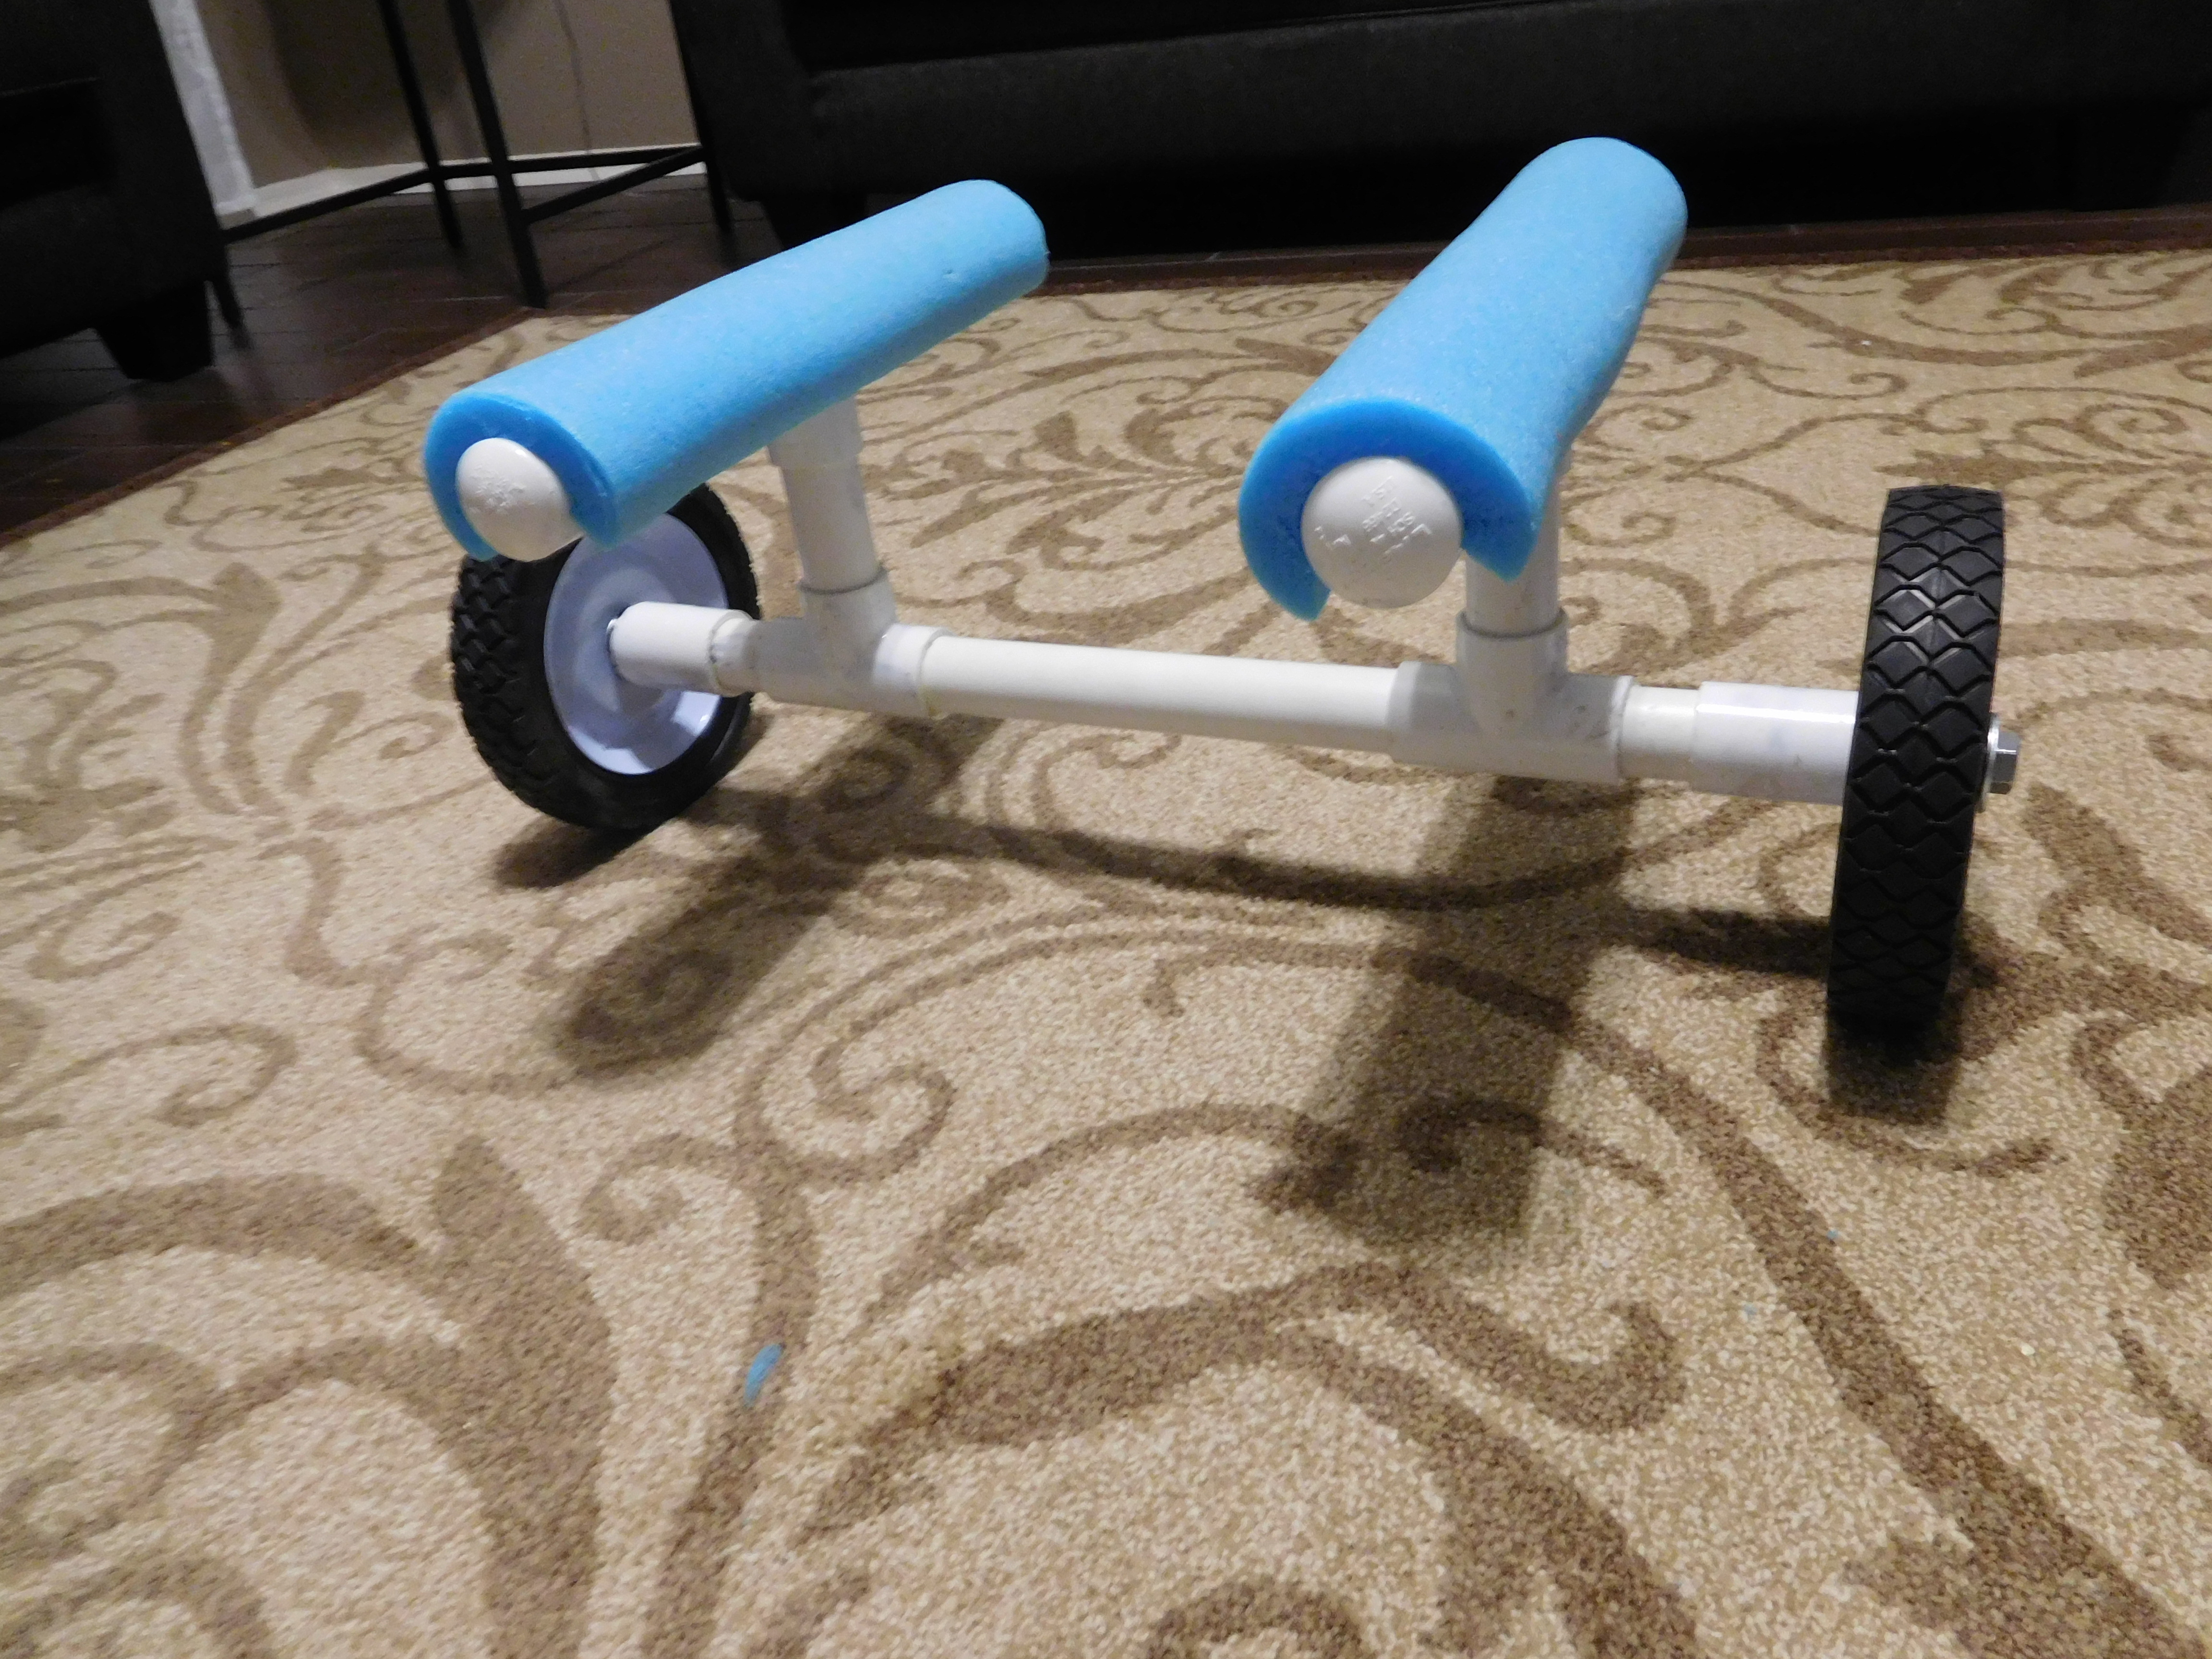
Today, I built my own kayak cart. Now I can easily pull my kayak from my car to the water and vice versa. The project was relatively easy, and I learned a few things as I did it. Here’s the step-by-step of how I built the kayak cart, along with some thoughts on modifications I would do if I were to make it again.
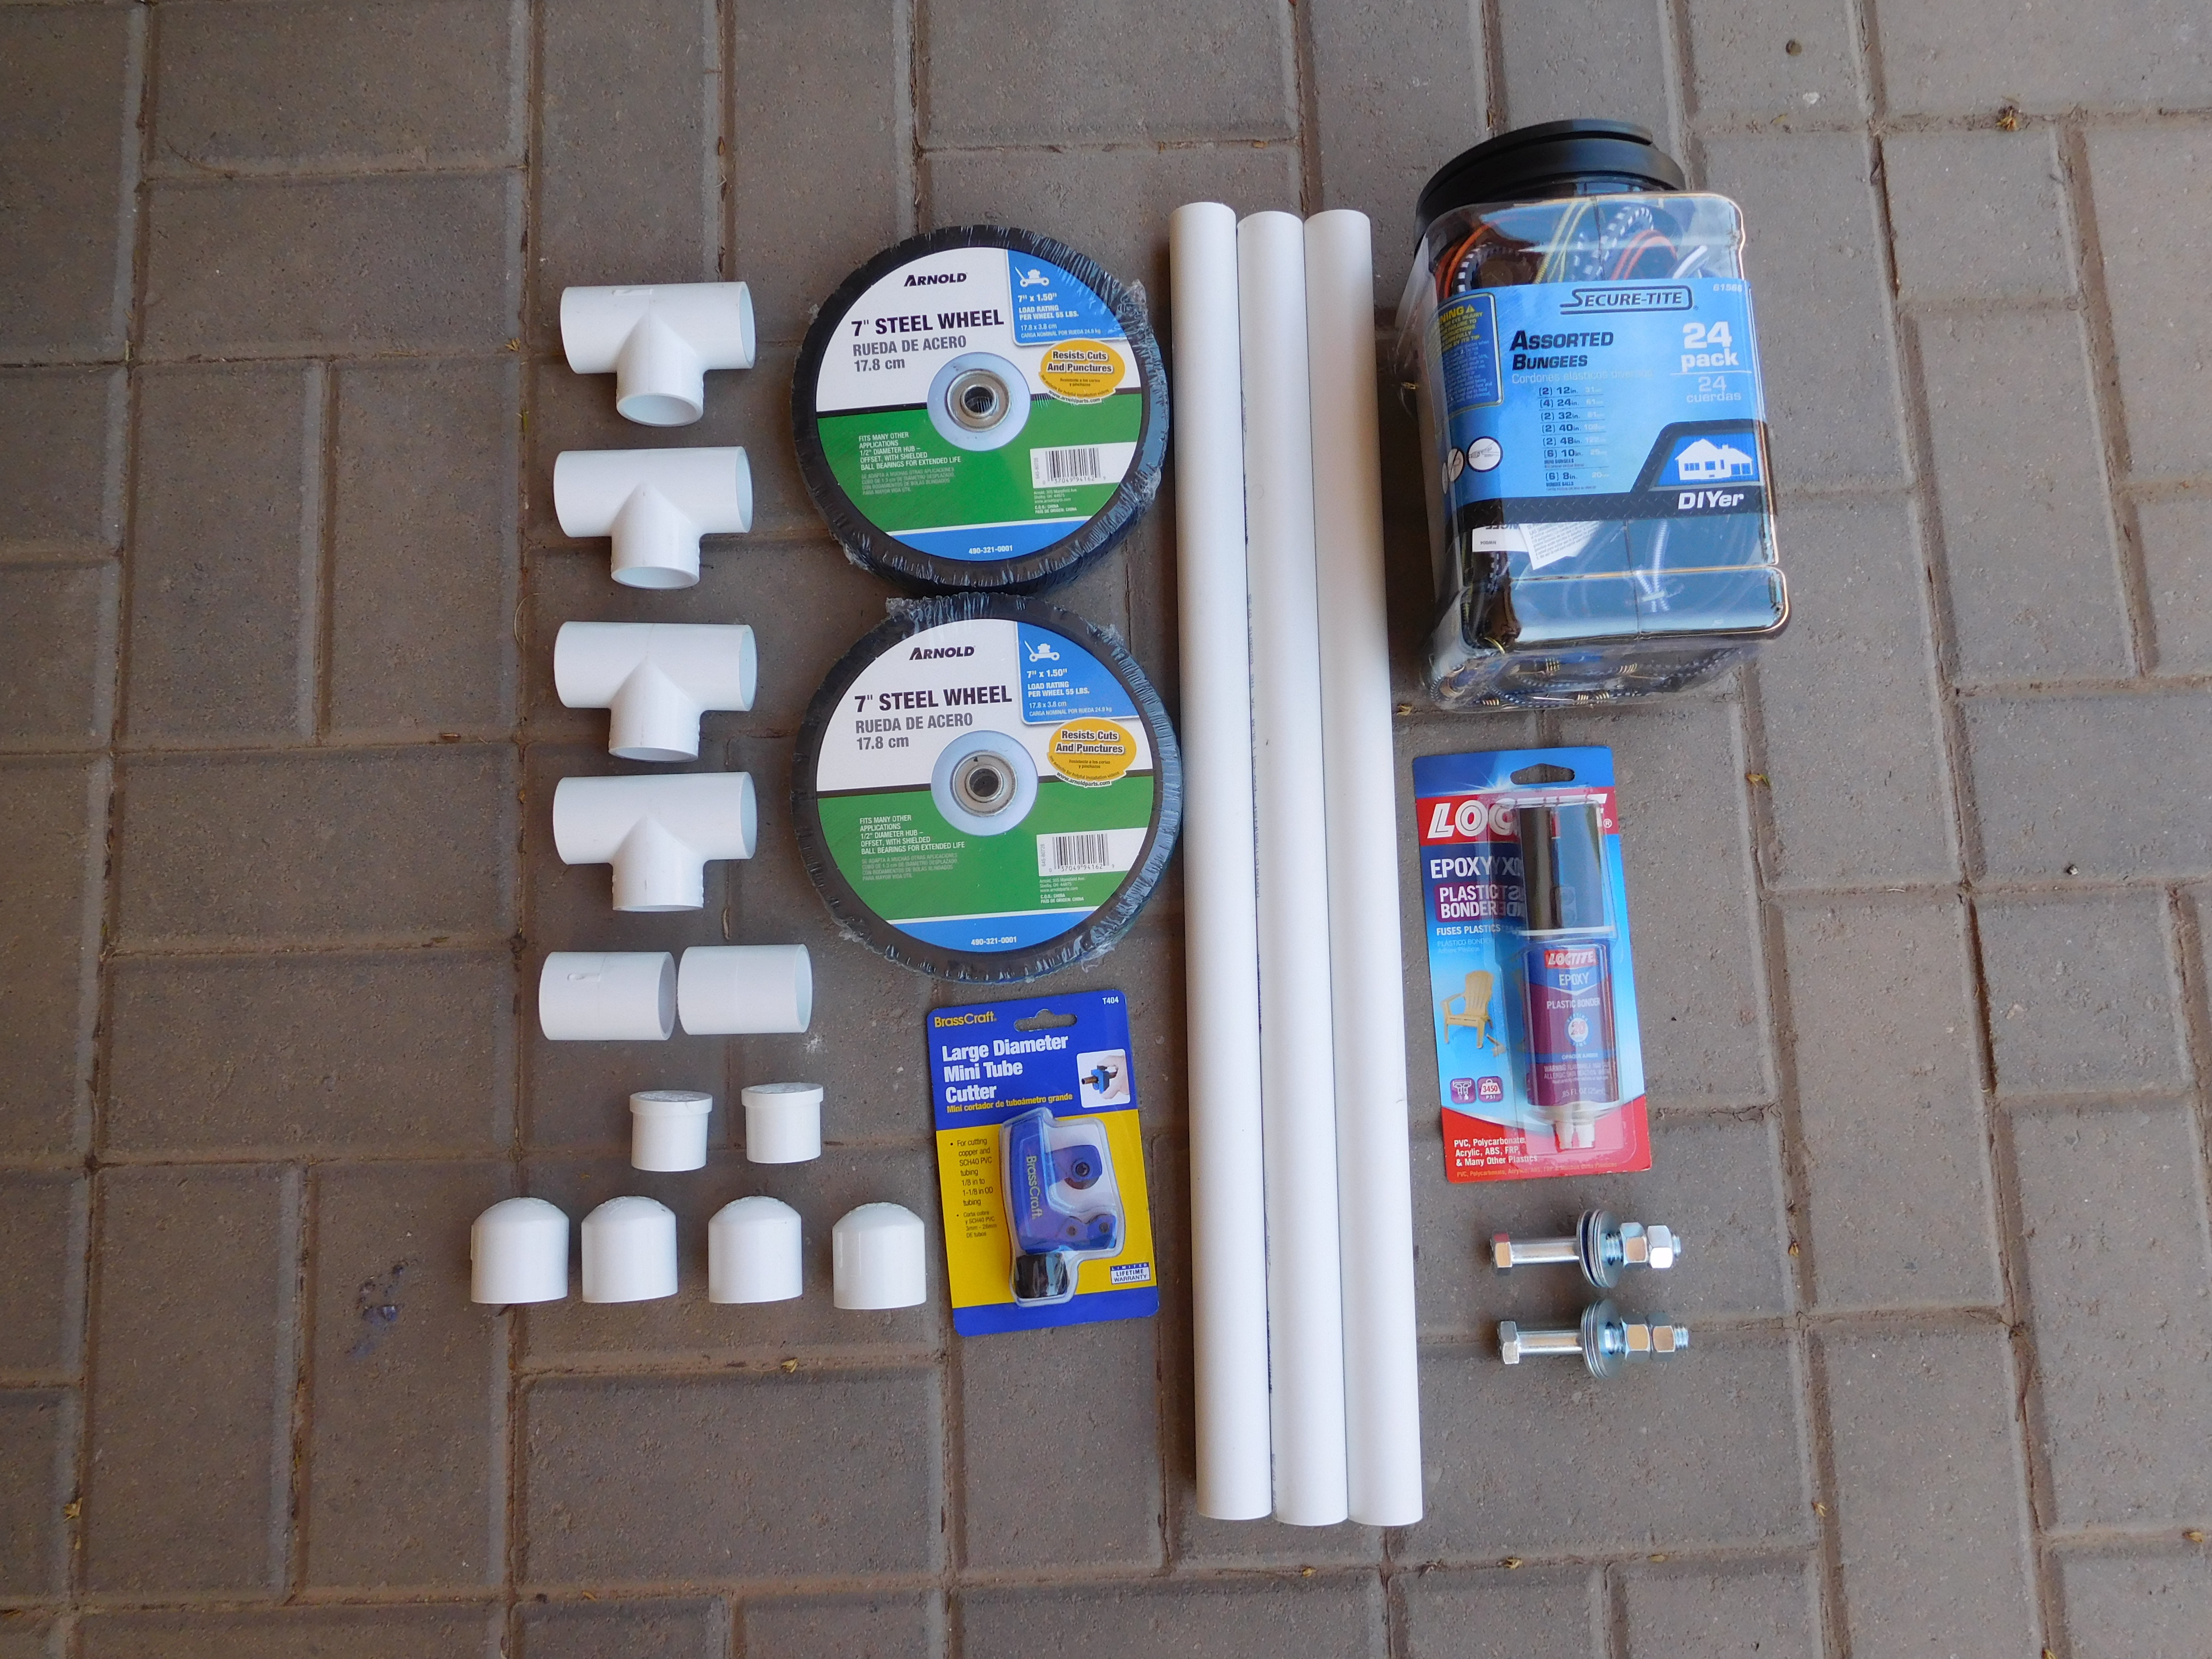
Materials I used:
- 2 – 7″ wheels
- 2 – 1″x2ft sections of PVC pipe
- 4 – 1″ Tee connectors
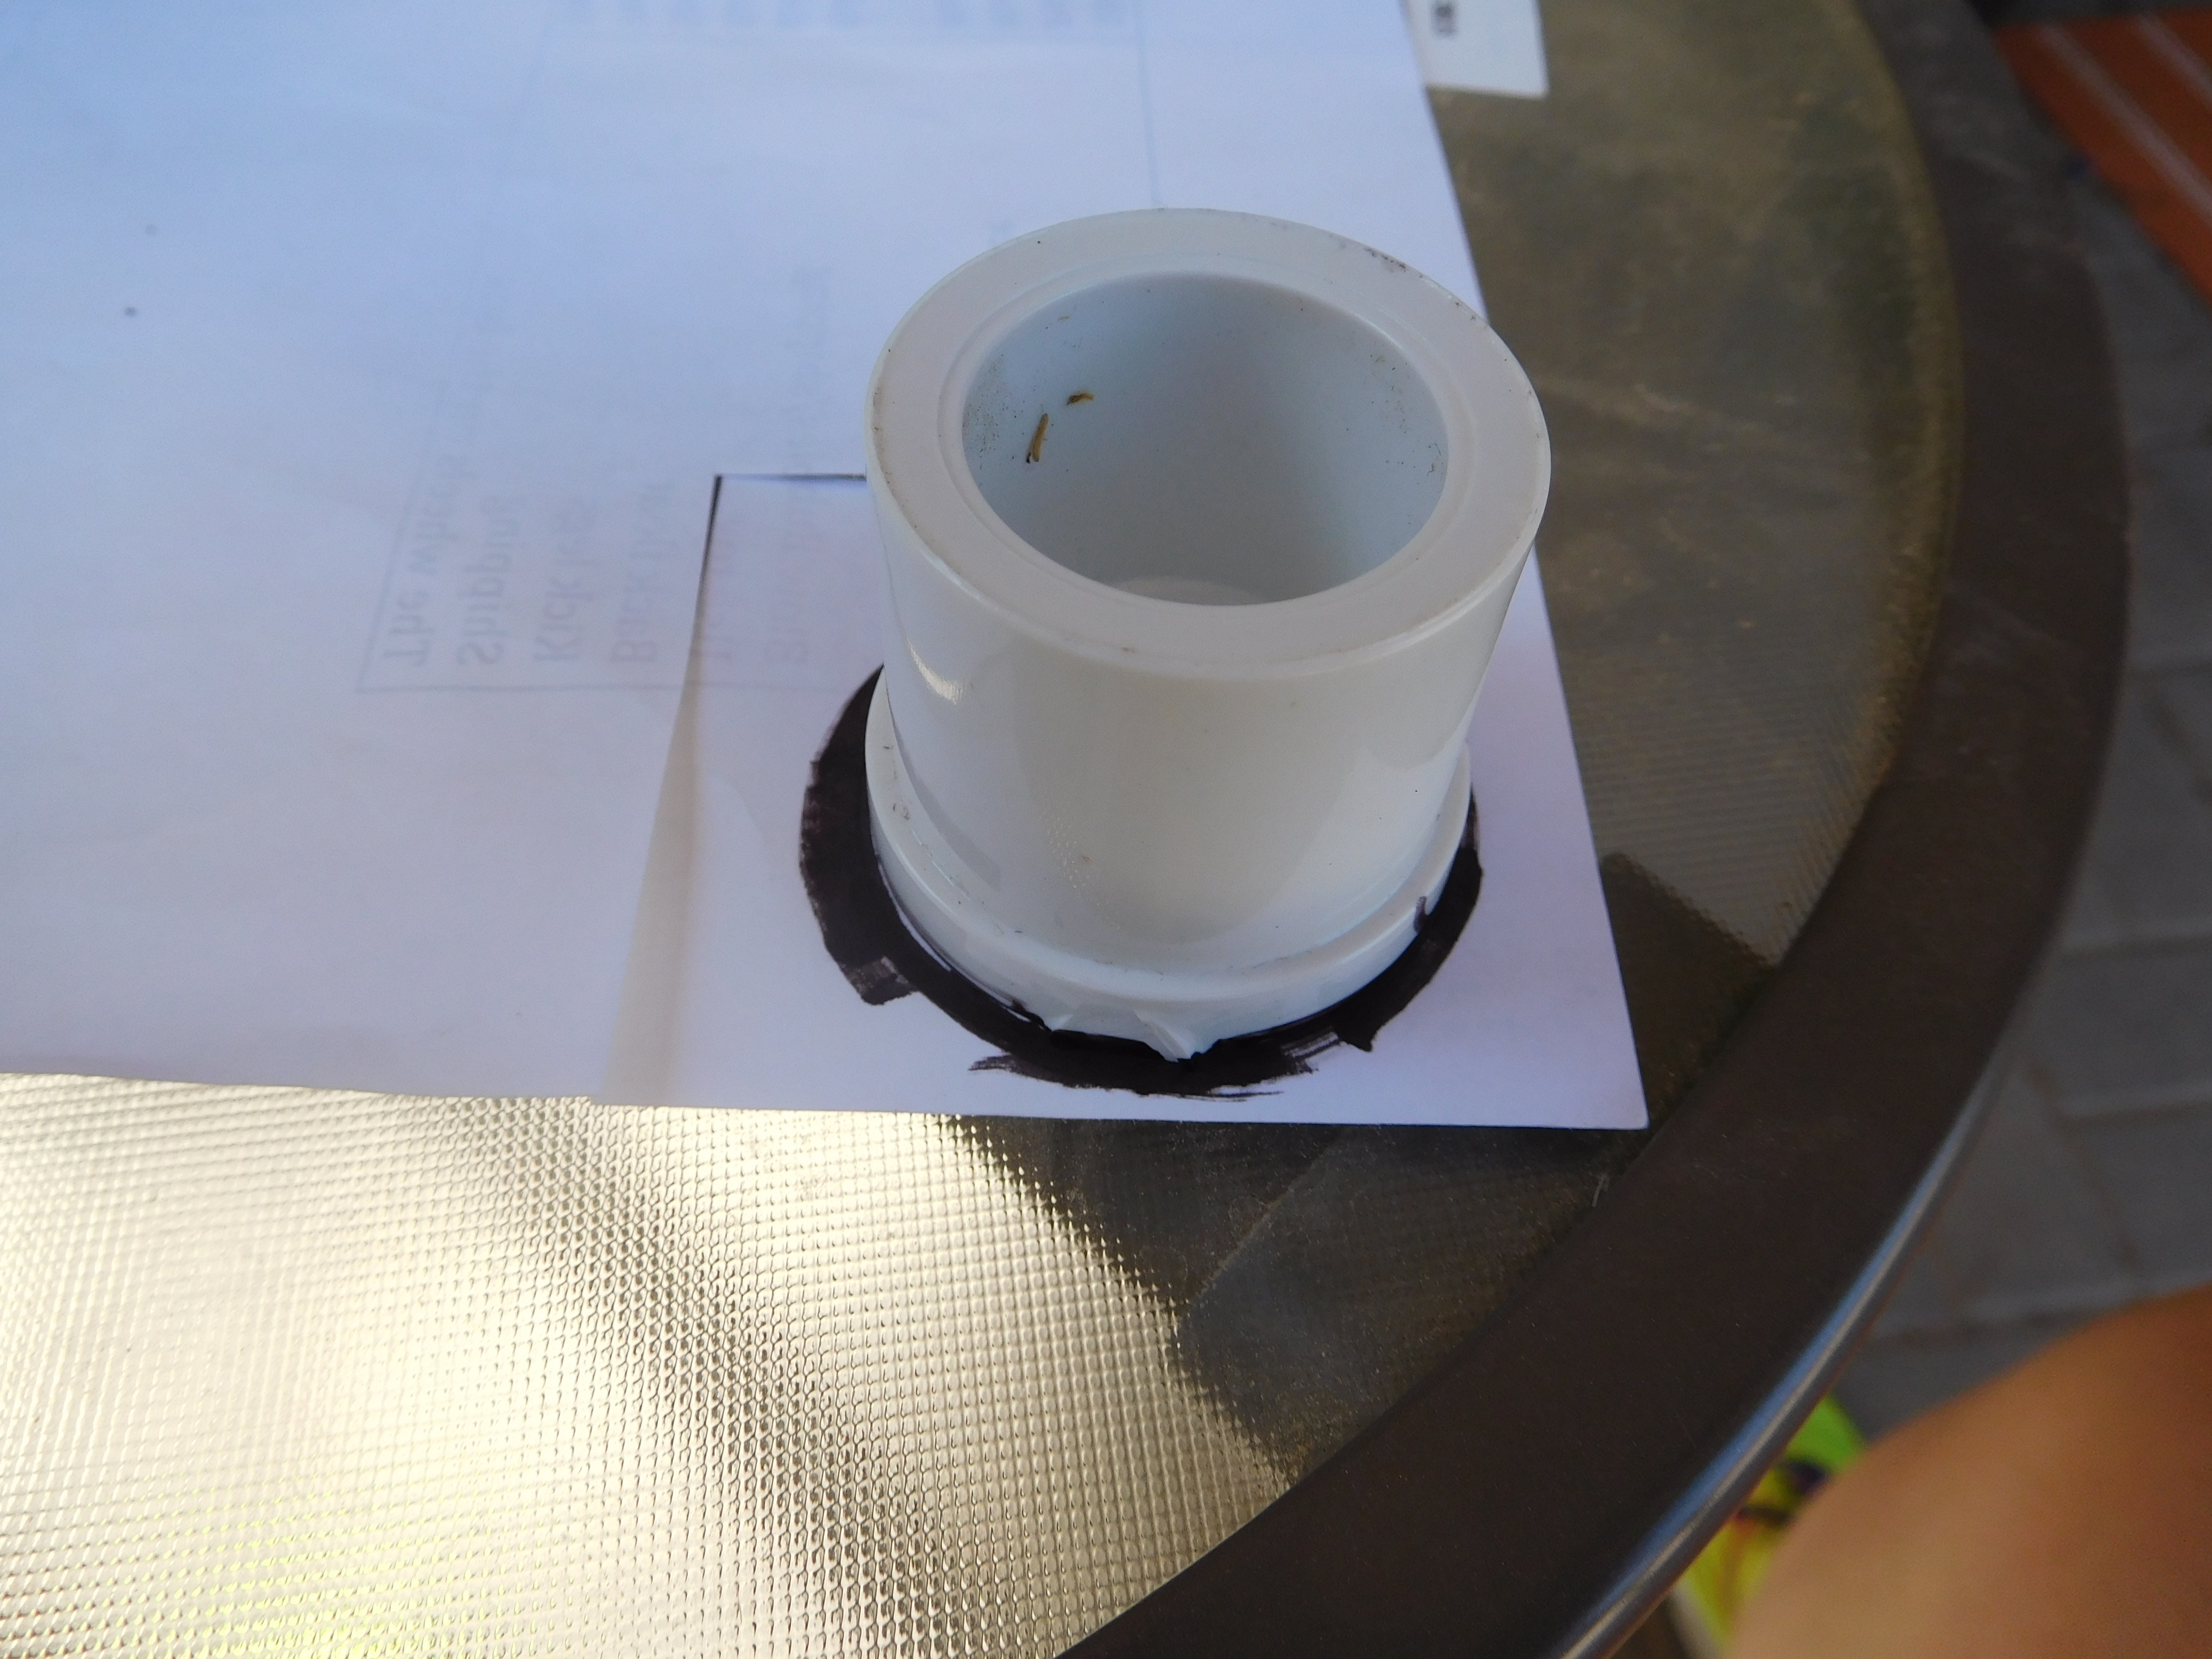
- 2 – 1″ PVC pipe plugs
- 2 – 1″ PVC couplings
- 4 -1″ PVC end caps
- 2 – 1/2″x3″ Hex cap bolts
- 4 – 1/2″ Hex nuts
- 4 – 1/2″ Flat washers
- 1 – Pool noodle
- 1 – Bungee cord
- Plastic epoxy
- Duct tape
A note on the materials: The plans I found online originally called for using 1.5″ PVC pieces. When I got to the hardware store and saw how big 1.5″ PVC is, I thought that the 1.5″ PVC would be overkill. I made a split-second decision to get everything in the 1″ PVC size. It seemed like a great decision until it was time to assemble the wheels. I have explained in each of the steps why 1″ PVC is a bad idea, and also shared some thoughts on other materials choices.
Also, I purchased 2 smaller pieces of PVC pipe (2 ft each) instead of buying one long 10ft pipe. The cost of the 2 small pipes was roughly the same as the cost of the 10ft pipe. I went with the smaller pipes because they would fit in the trunk of my car on the drive home. So, feel free to be more cost-effective and buy the larger pipe. I didn’t want the hassle of fitting a long pipe into my car, and I didn’t need to have an extra 6ft of PVC pipes laying around.
TLDR: Next time, use 1.5″ PVC pieces and threaded pipe plugs and standard-to-threaded couplings.
Tools used:
- Electric drill
- Pipe cutter
- Tape measure
- Mallet/hammer
- Ratchet
Step 1: Drill Holes in the PVC Pipe Plugs
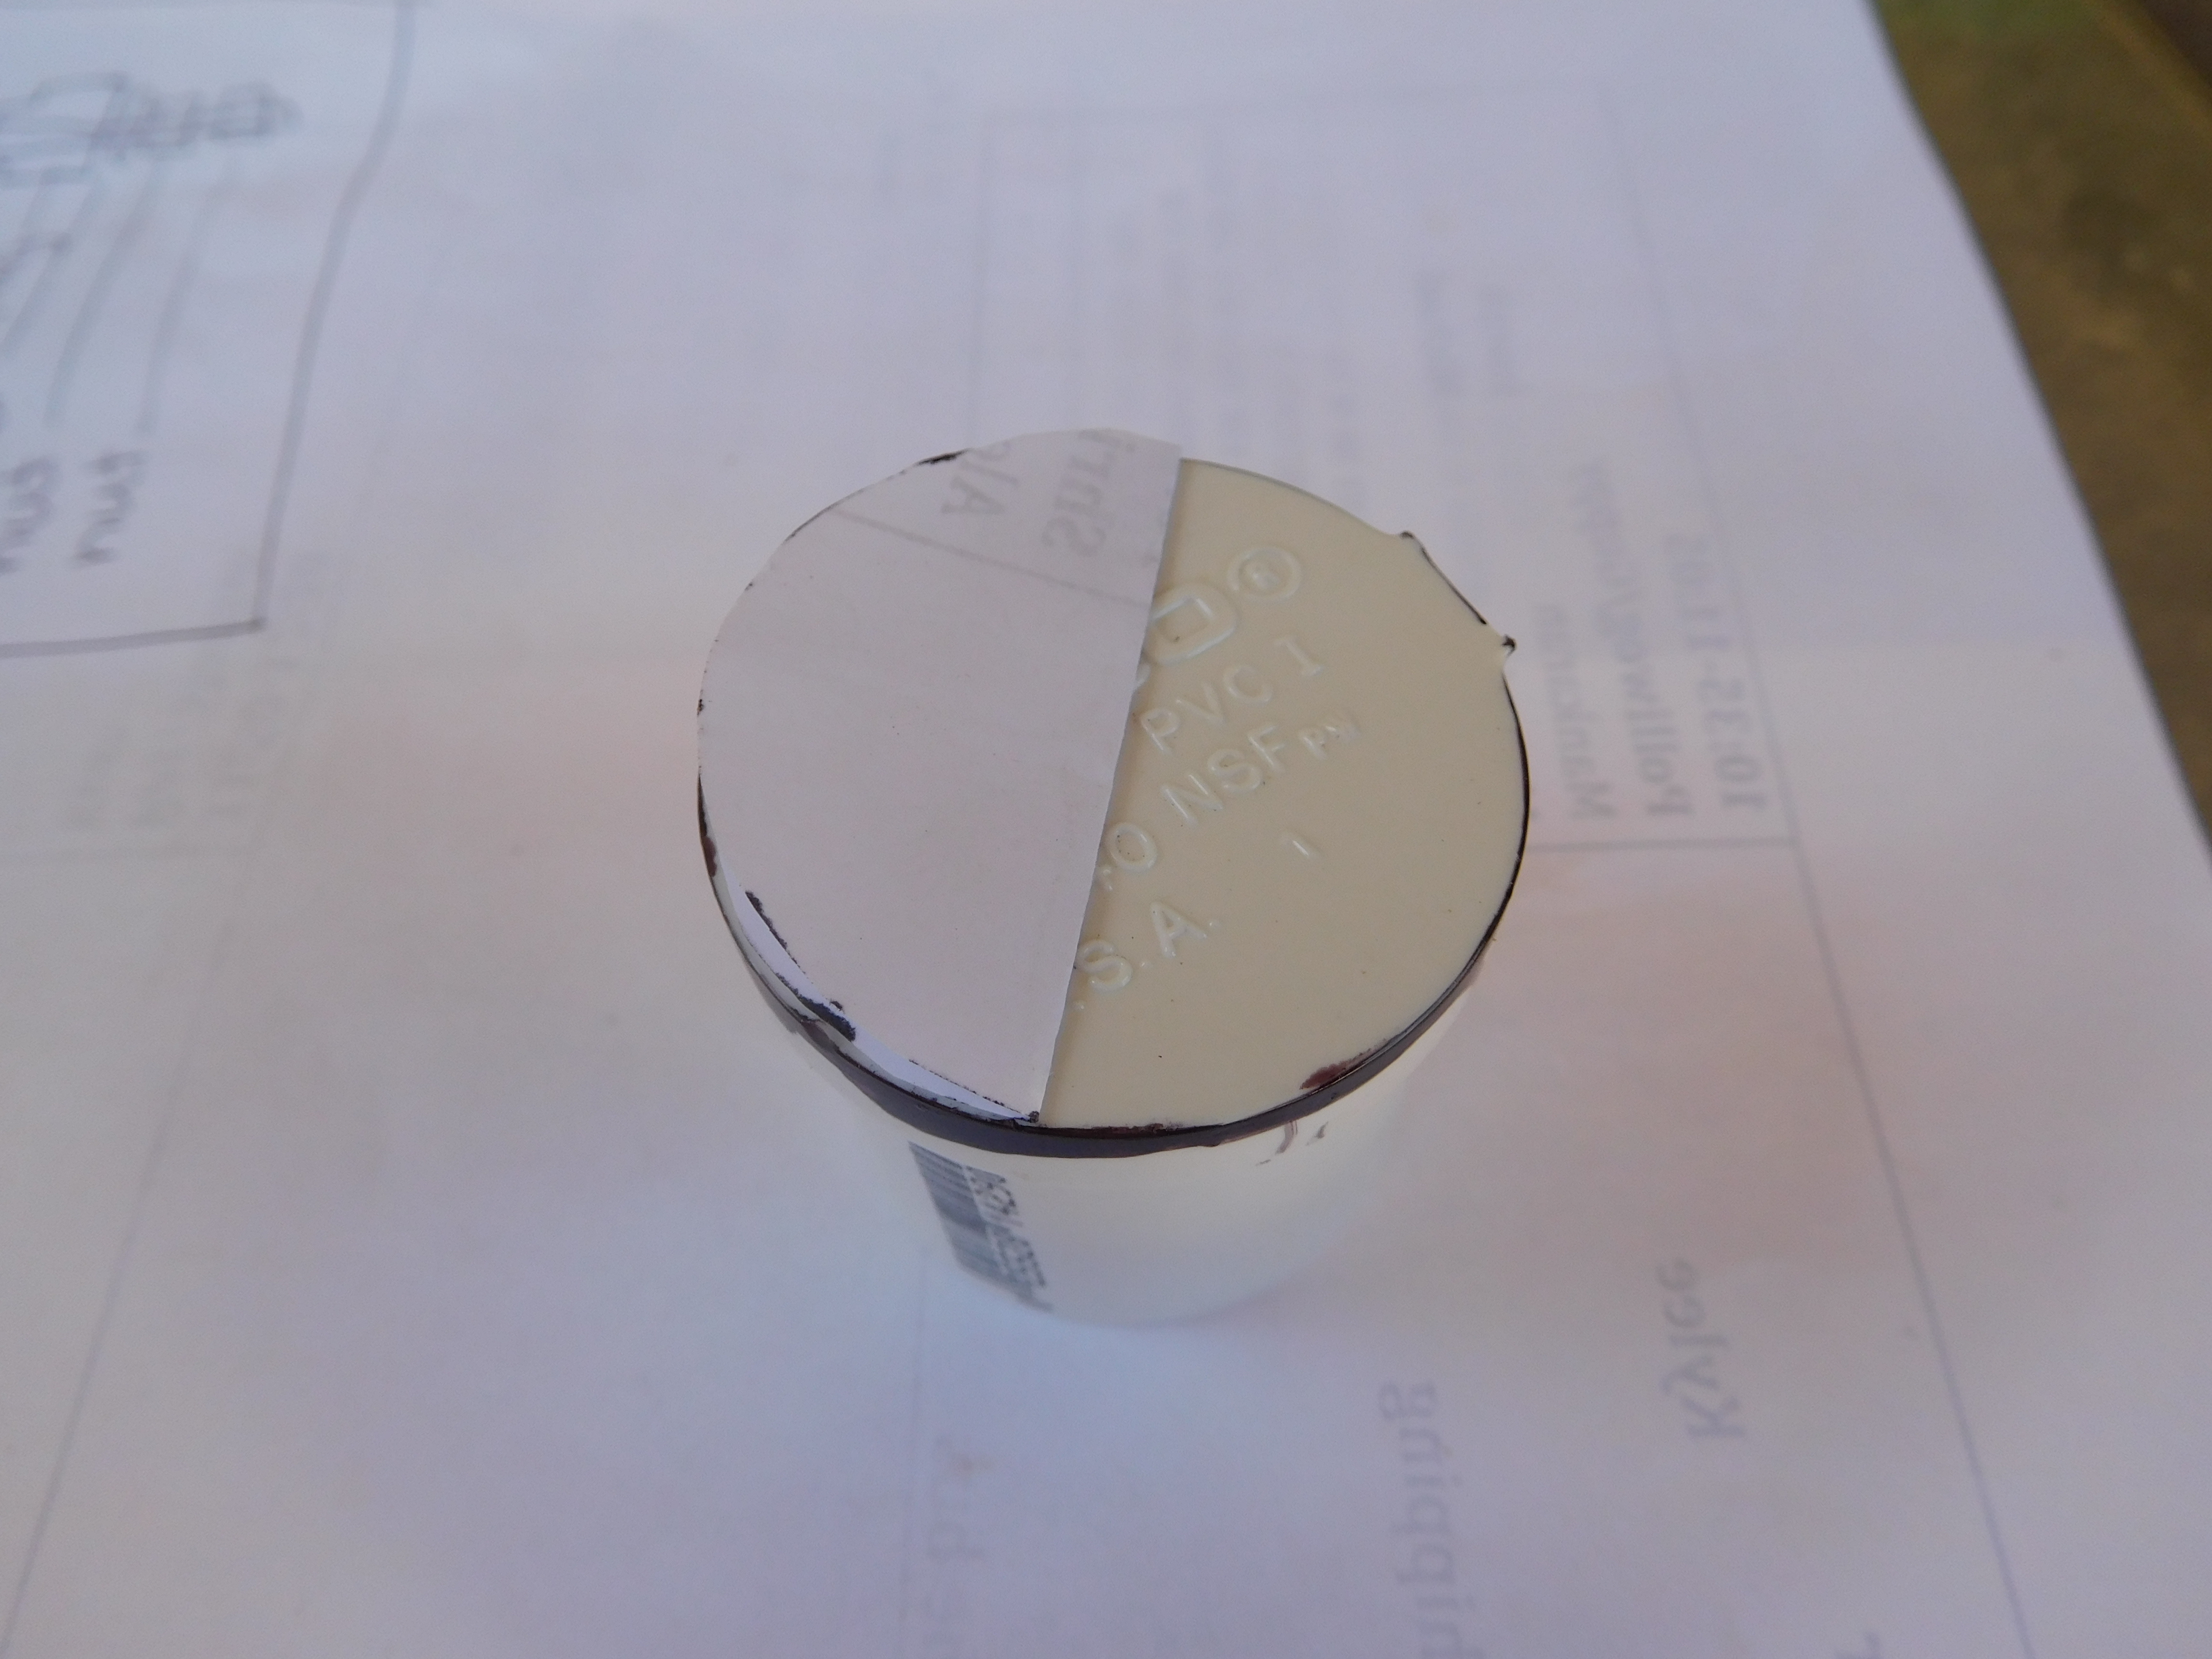
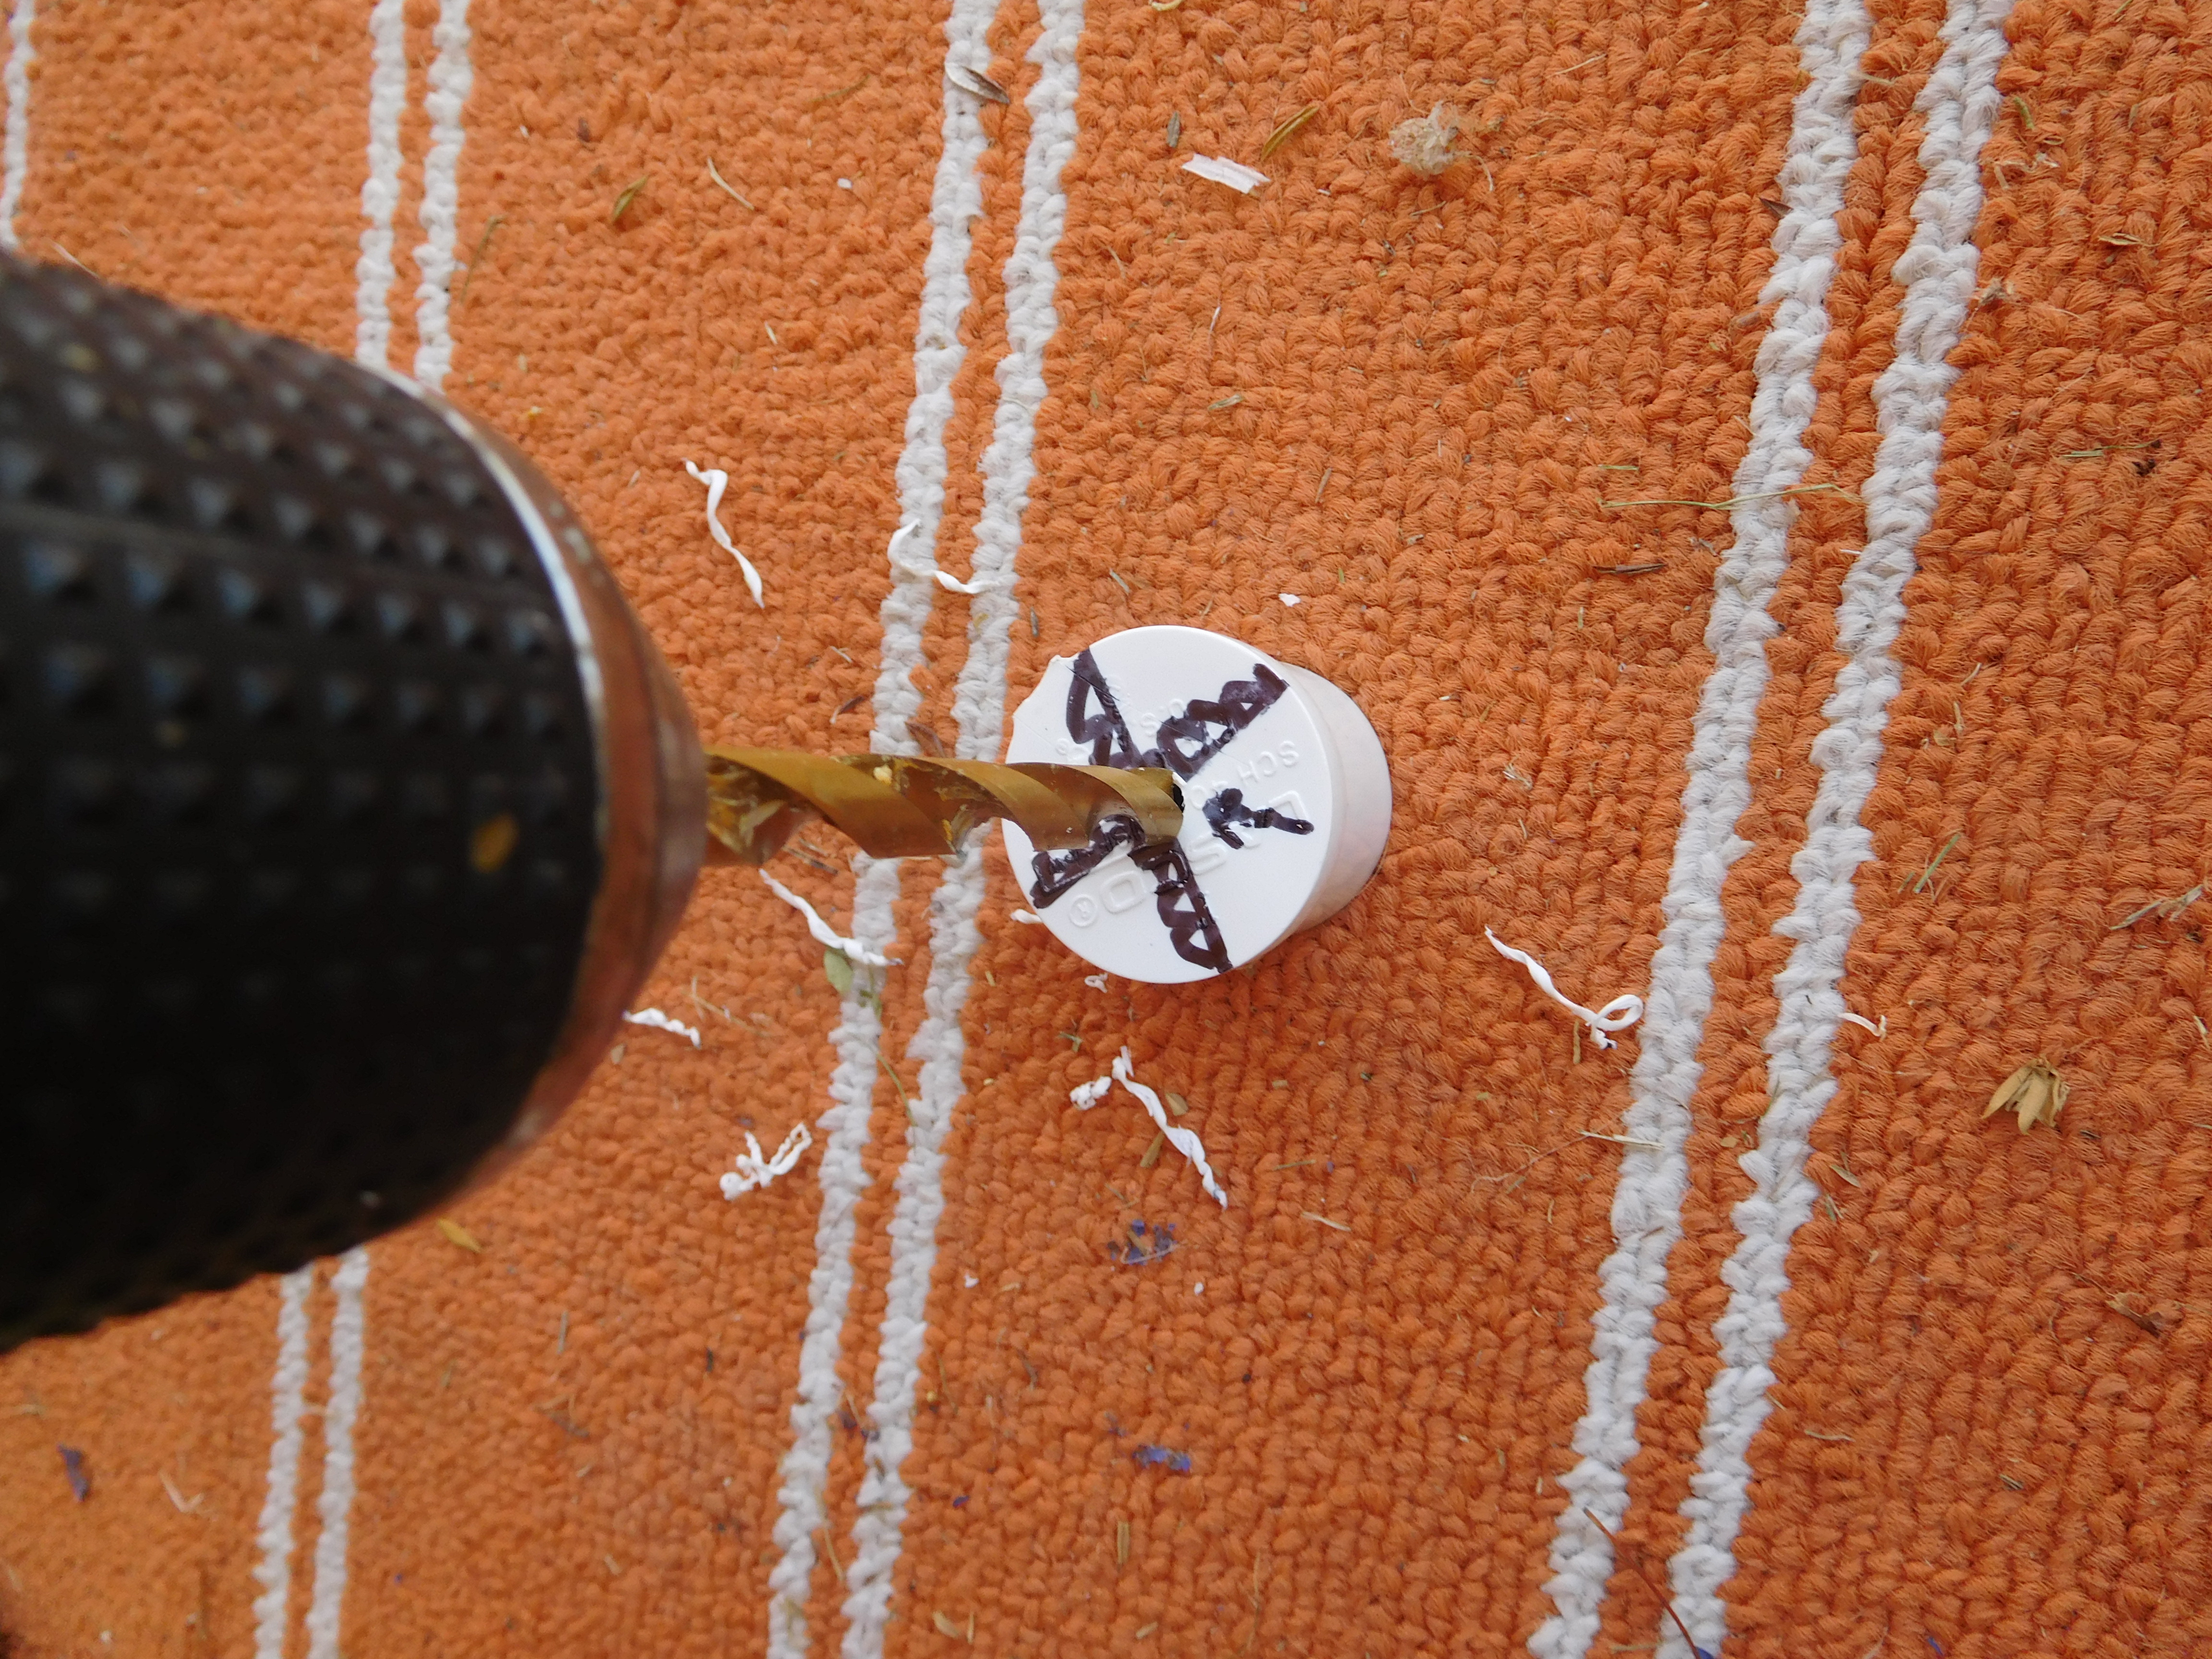
In order to put the wheels together, you have to drill a 1/2″ hole into each of PVC pipe plugs. Because the plugs will support the wheels, it is very important to make sure that the holes you drill are in the middle of the plugs. I used my middle school math tricks to find the midpoint of each plug.
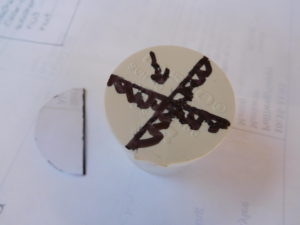
Then, start with a small drill bit to drill a hole in the center of each plug. I started with a 1/16″ drill bit and worked my way up to a 1/2″ drill bit. It’s important to increase the drill bits incrementally so that you don’t crack the plug. The photos below are of my smaller drillings as I worked up to the 1/2″ drill bit.
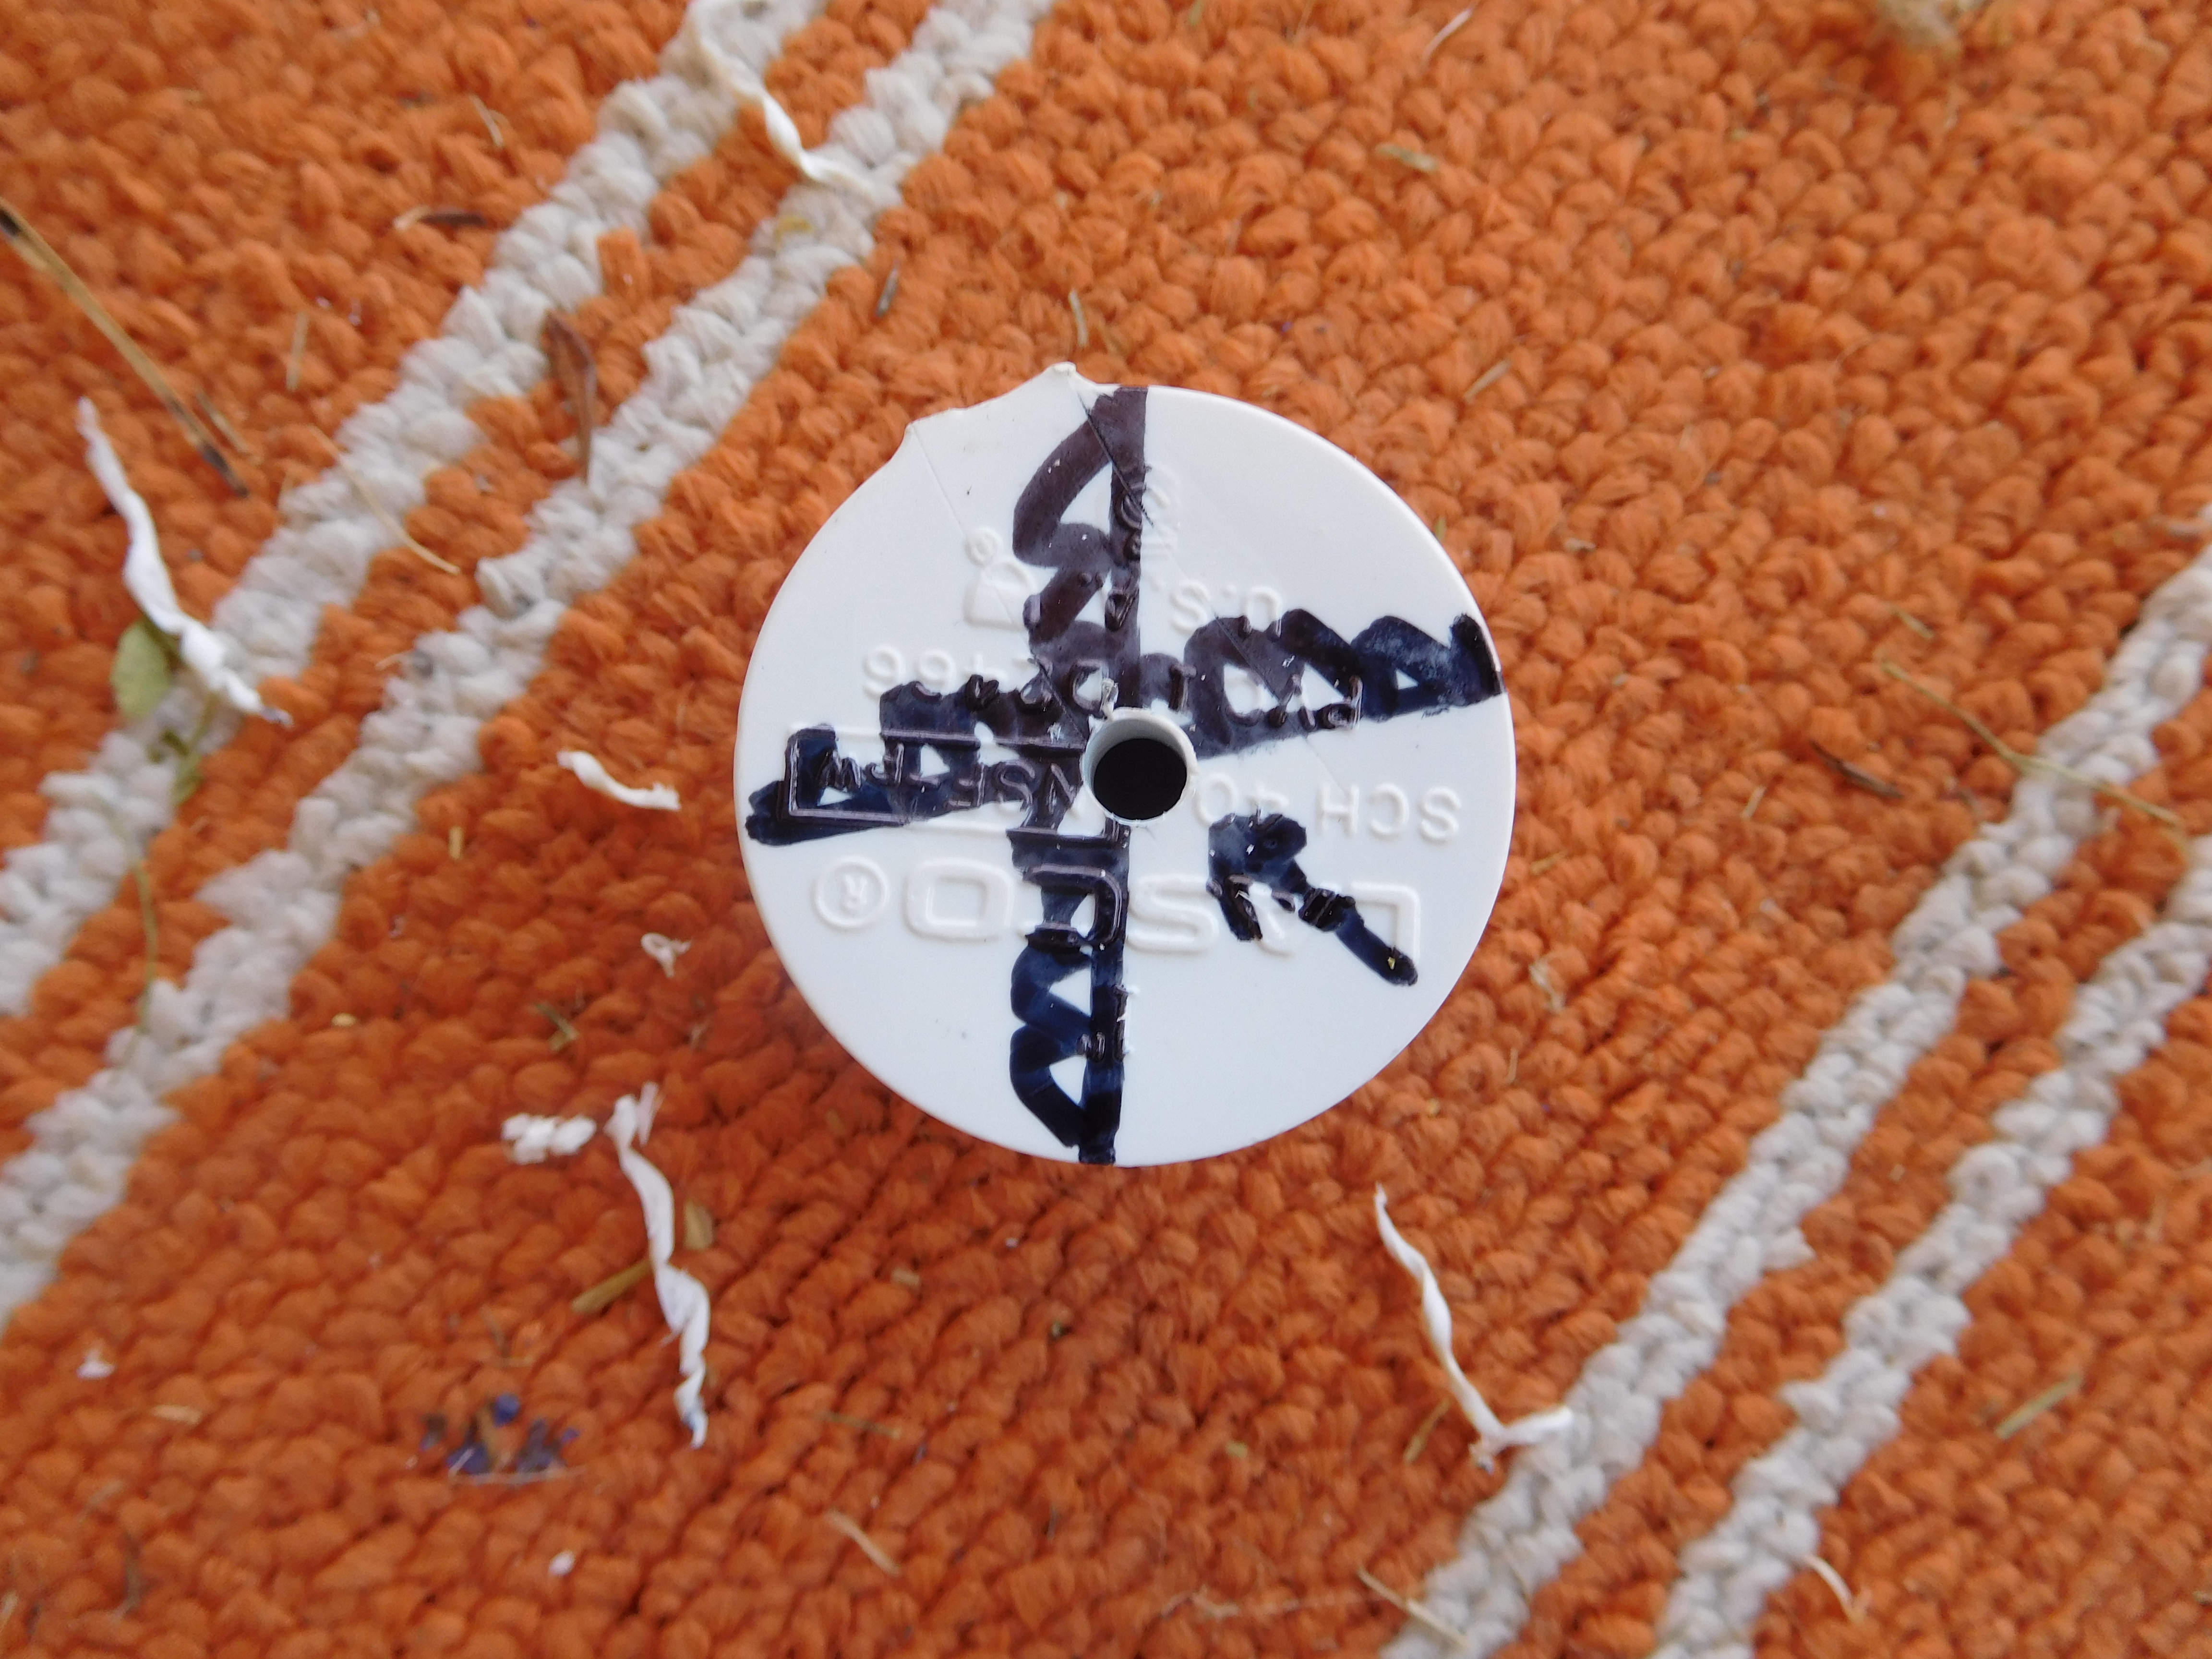
Once you have the 1/2″ holes in your plugs, it’s time to assemble the wheels.
Step 2: Assemble the Wheels
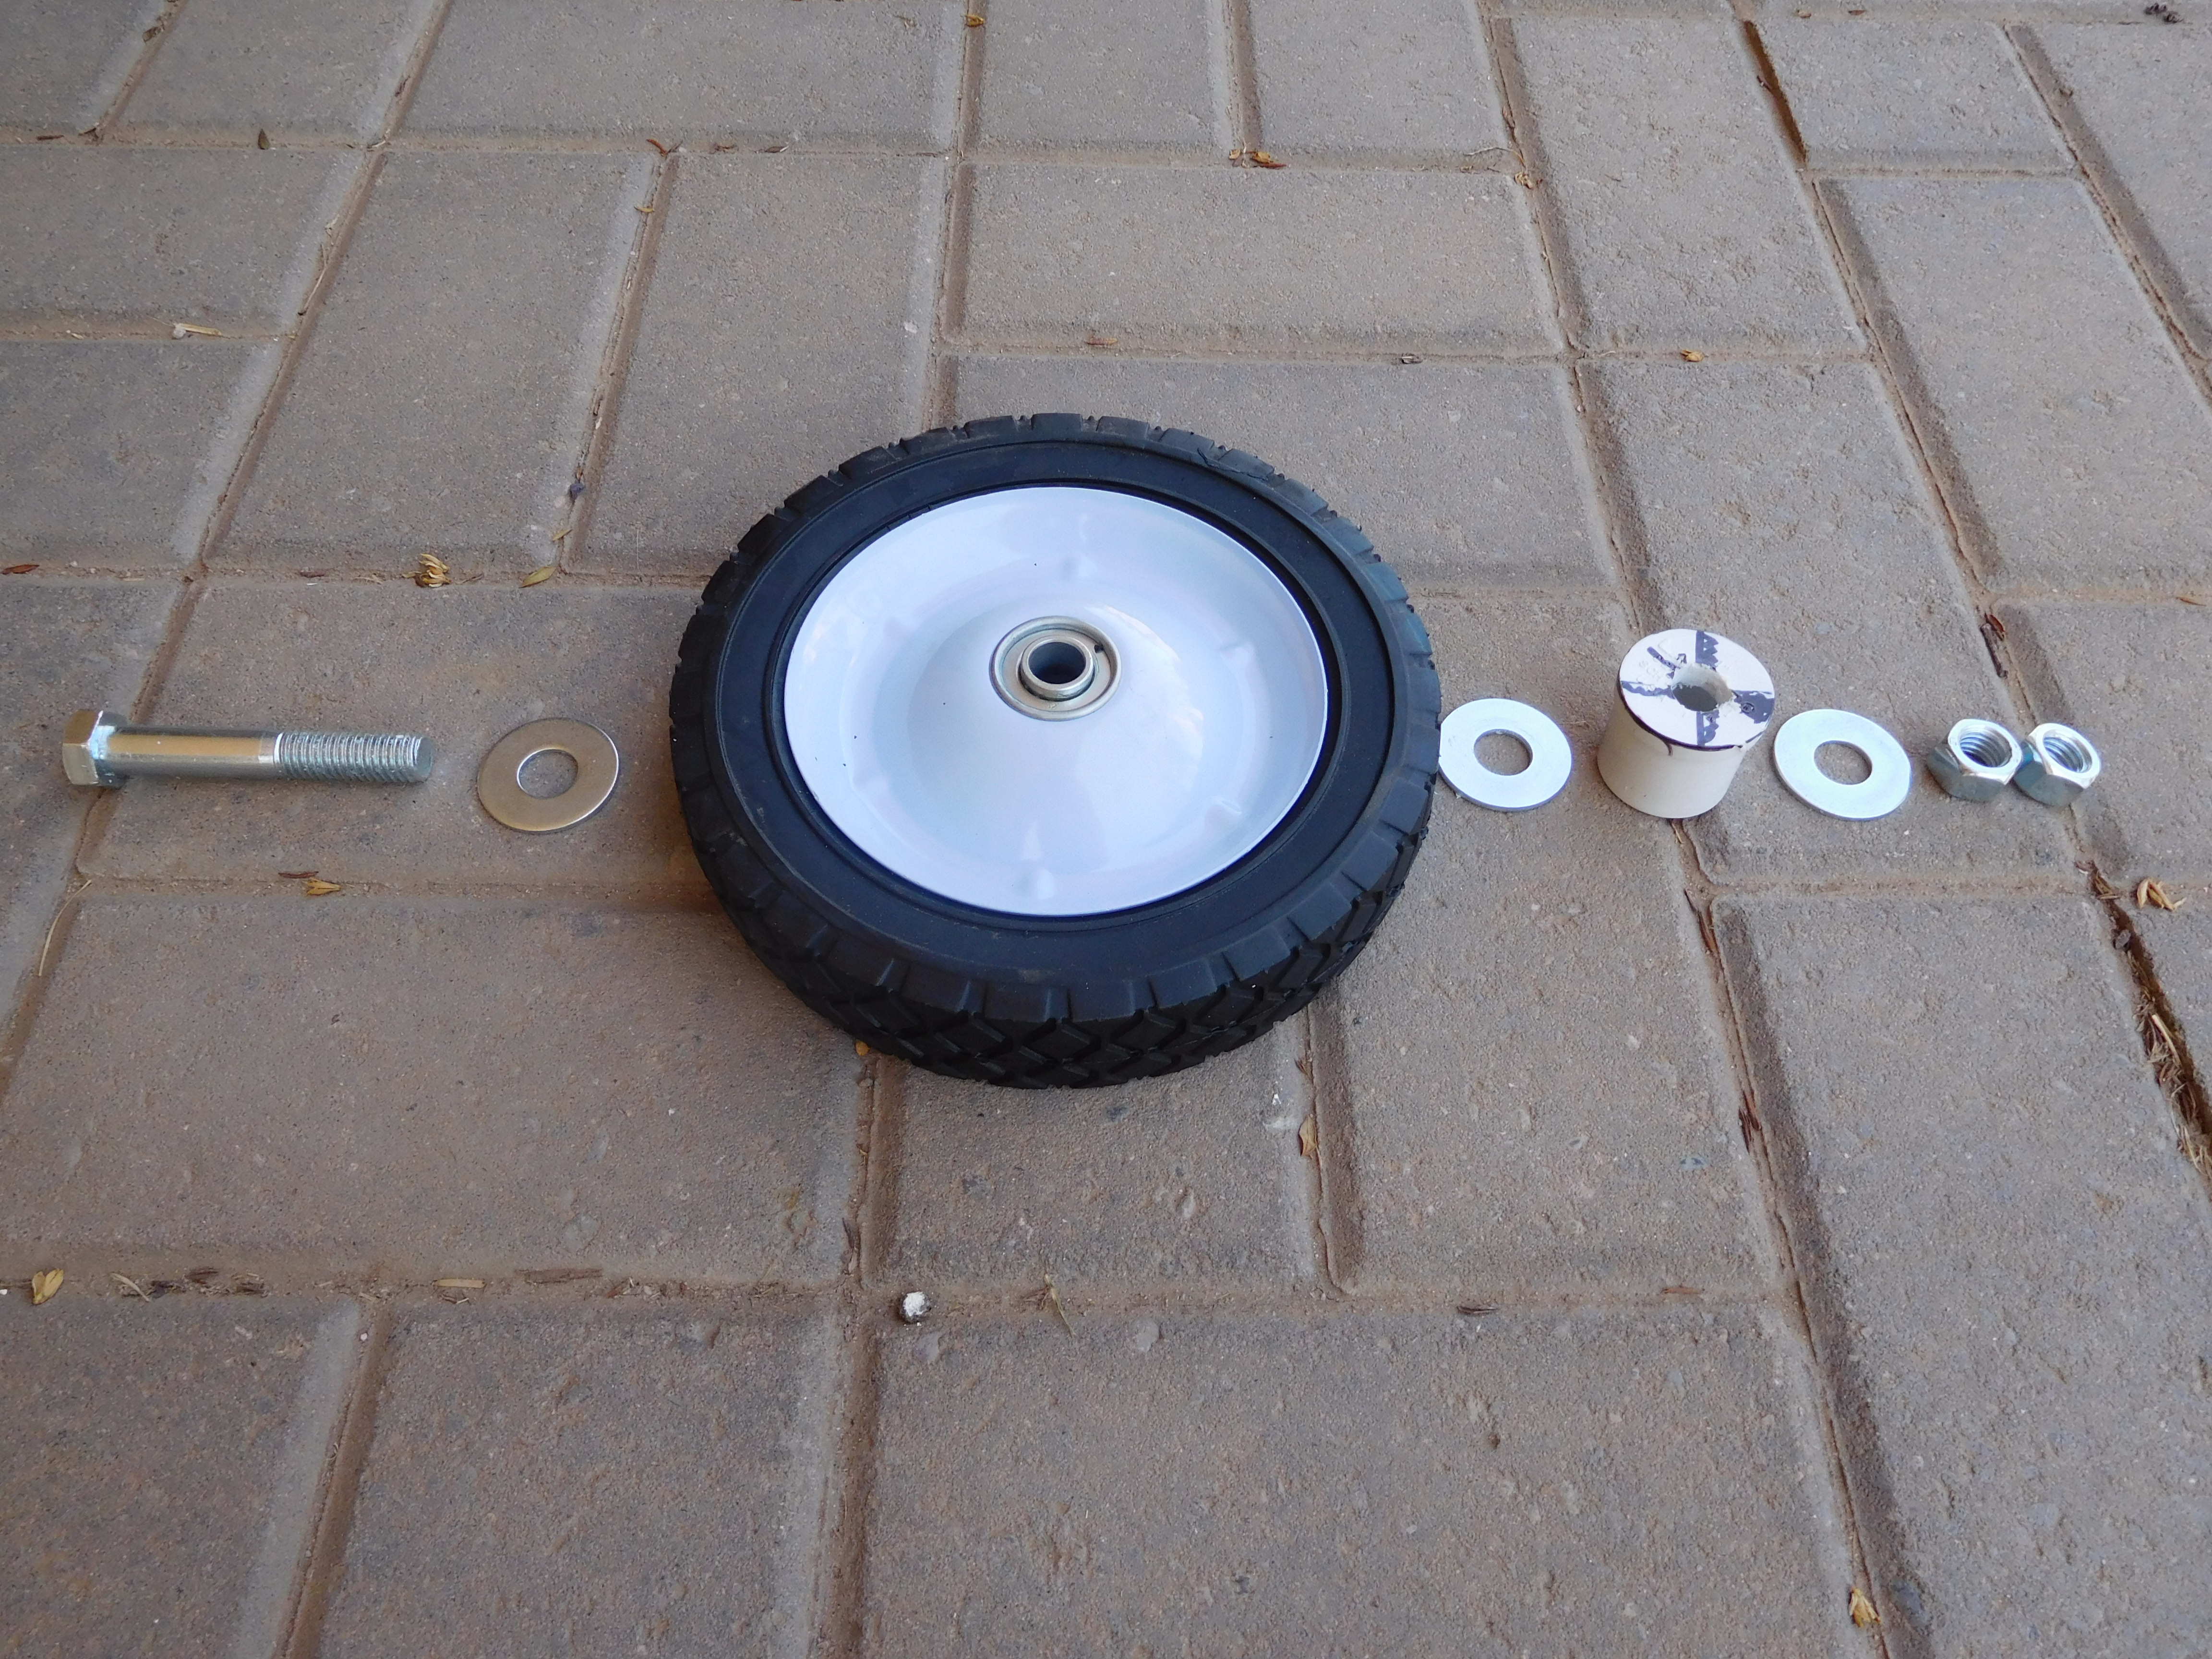
This is the step where I learned that switching from 1.5″ to 1″ PVC was a bad idea. As you can see from the photo above, my plan was to assemble the wheel as follows:
Bolt – Washer – Wheel – Washer – Plug – Washer – Nut – Nut
Teachable Moment #1: You may notice from the photo that the washers are roughly as wide as the plug. In fact, they’re slightly wider in diameter than the plug. The washer doesn’t fit inside the plug as it should, nor does it fit in the PVC coupling. At the time, it didn’t seem like a big issue to leave out that washer. It (arguably) became important when I realized that the nuts were coming loose inside the wheel assembly… after I had already assembled the entire cart and glued it together.
Teachable Moment #2: I bought standard PVC pipe plugs and standard PVC couplings. So, I ended up gluing the entire thing together, which became an issue when a wheel loosened. Thankfully, I was able to put outward pressure on the wheel, which held the nut snug to the end of the interior of the plug, while I used a ratchet to tighten the bolt. Next time, I would use threaded PVC pipe plugs and standard-to-threaded PVC couplings. I would make sure not to glue the threaded pieces together. That way, I could easily attach and detach the wheel assemblies.
Why would I want to detach the wheels? First and foremost, I would be able to ensure that the nuts stay tight and fix any wobbly wheels. Secondly, it would give me some versatility to swap out my only-good-on-pavement wheels for some bigger pneumatic wheels for use on sand and uneven ground.
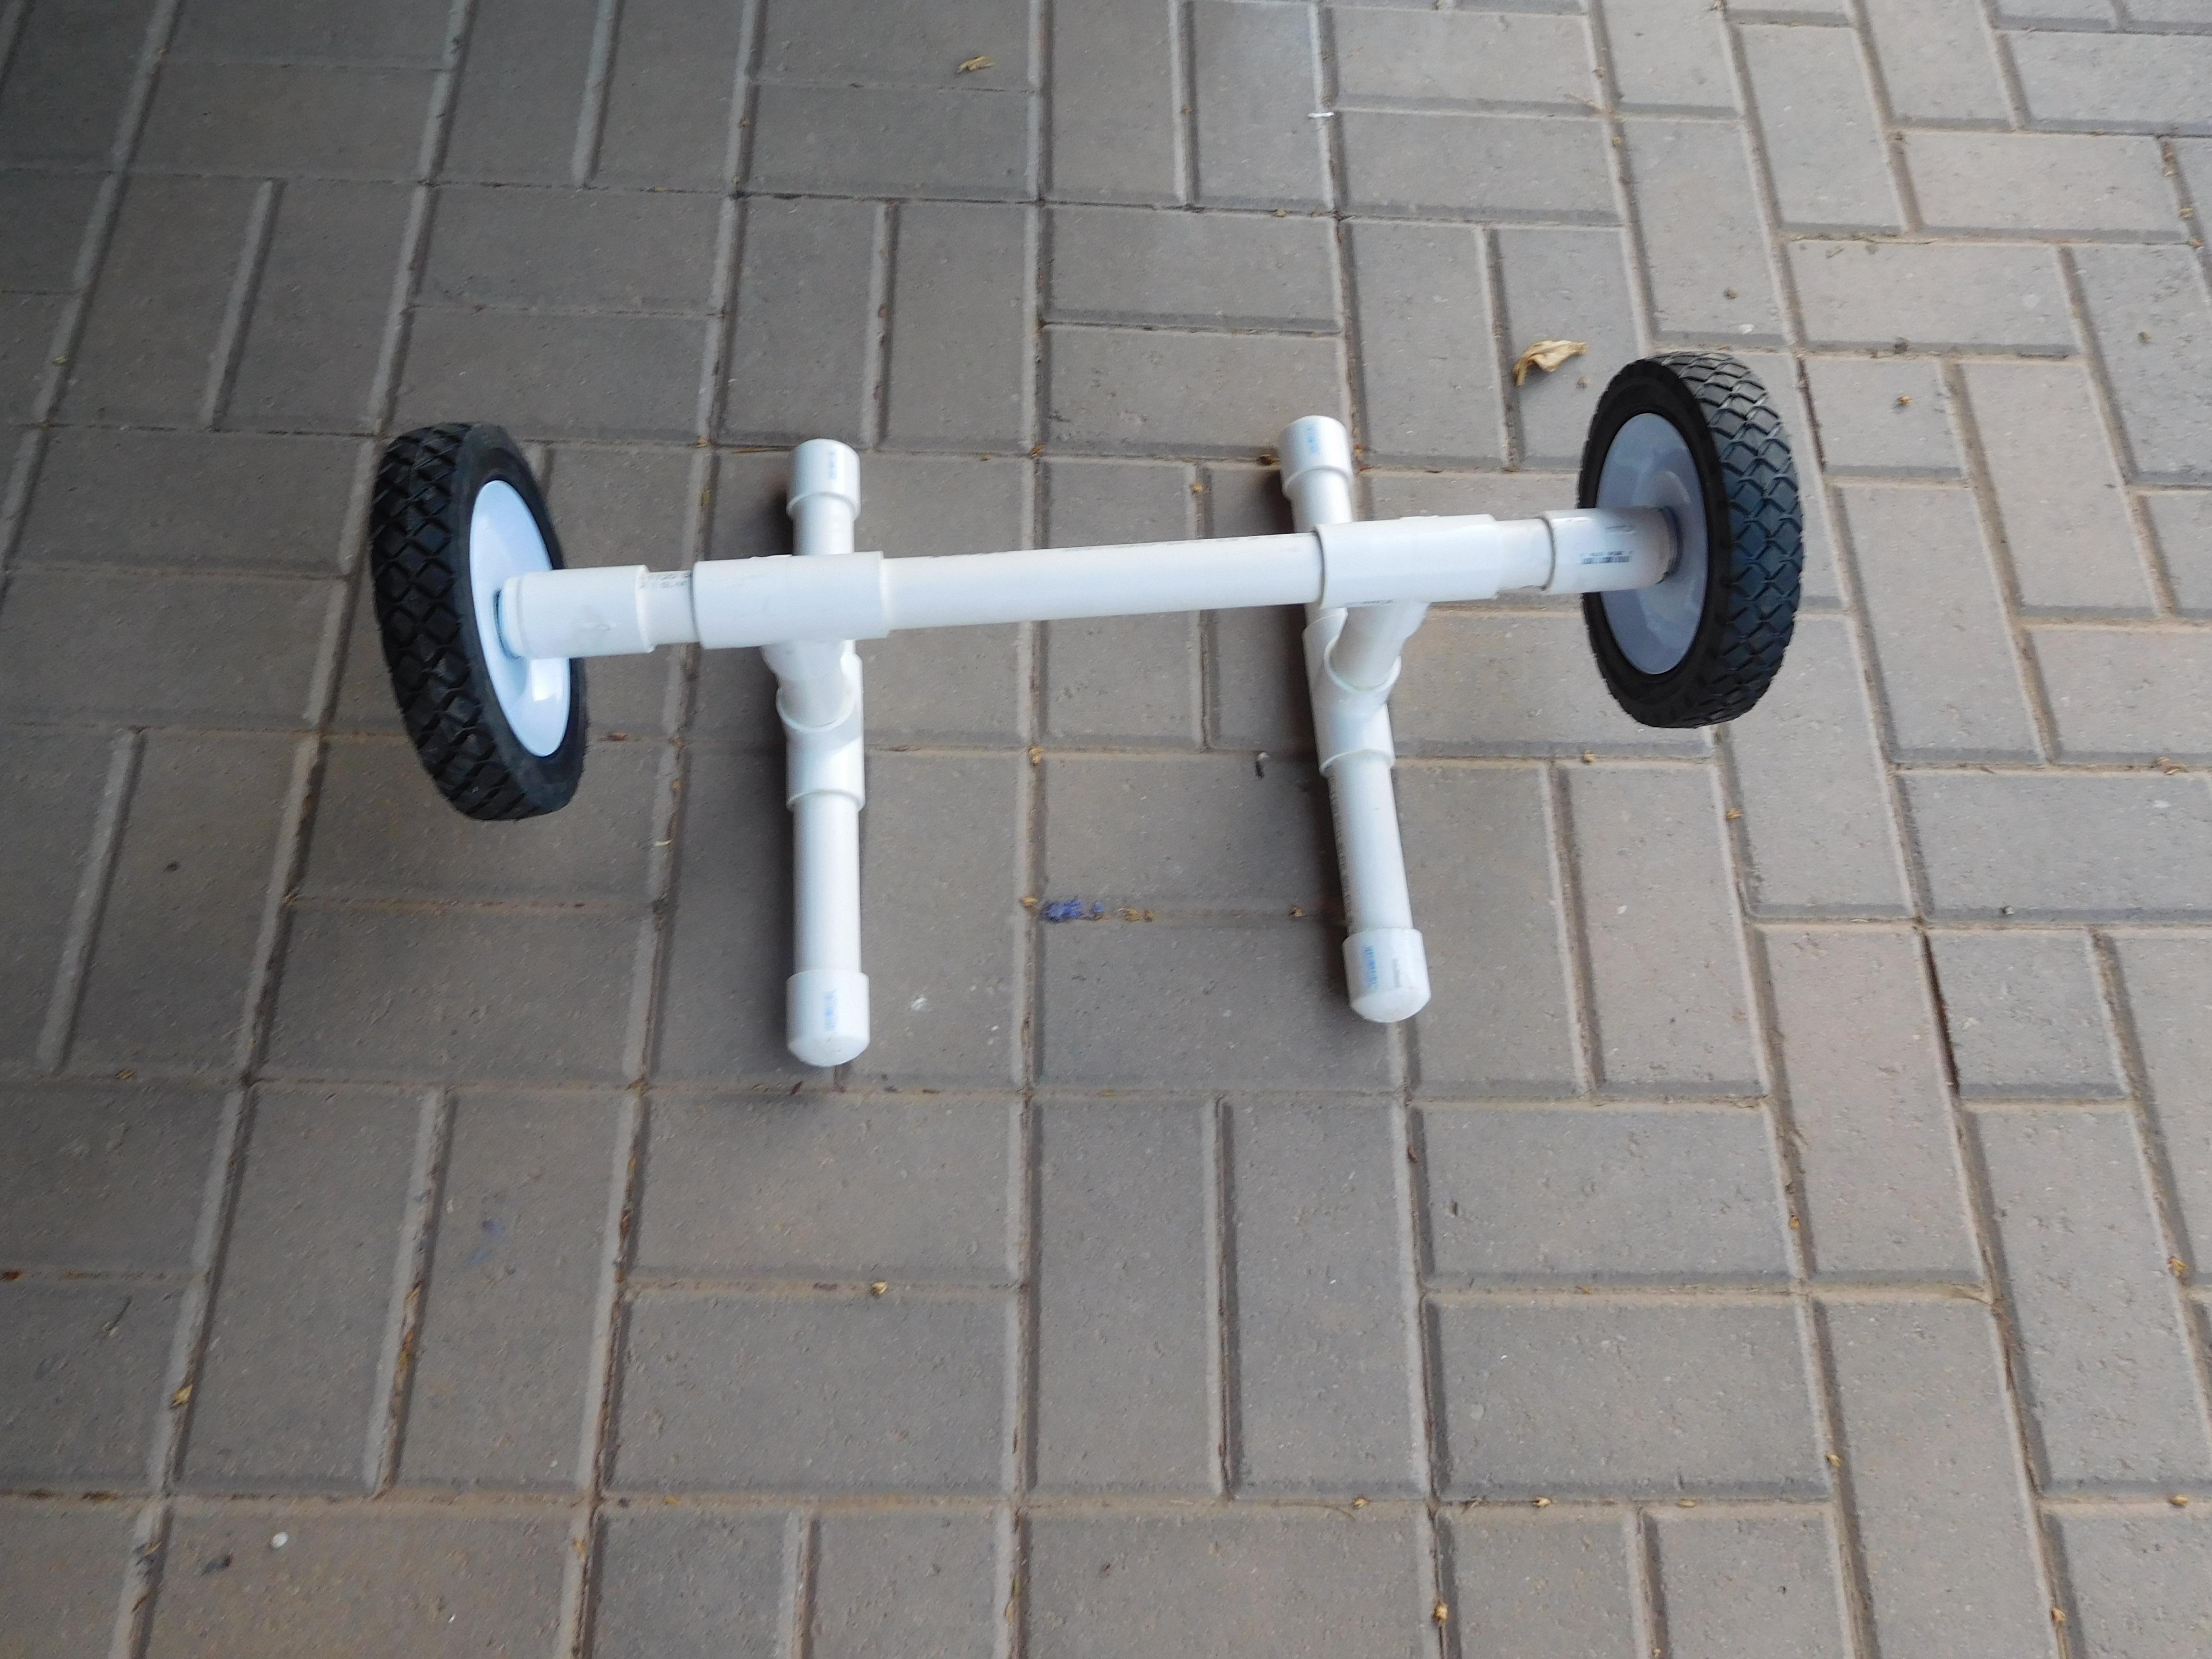
Step 3: Measure & Cut the PVC Pipes
It’s important to know how much space you want between your two top beams of the kayak cart. I aimed for roughly 1ft between the top beams. Each of the tee connectors adds almost an inch of length to the distance between the top beams. Additionally, I wanted to make sure to use only one of the 24″ lengths for the structure so that I could use the remaining PVC pipe for the top beams.
1st 2ft PVC Pipe:
- 1×10″ – center beam
- 2×4″ – upright beams (between the two tee connectors)
- 2×3″ – side beams (between tee connectors and couplings)
2nd 2ft PVC Pipe:
- 4×6″ – top beams
Like the old saying goes, “measure twice, cut once.” Make sure that you have measured all of your pipes to the lengths you desire. You may want to adjust the lengths to better fit the bottom of your kayak.
Additionally, it’s important to make sure that your pipe cutter blade is lined up perfectly before you start cranking away with it. Cut your pipes into the the lengths you need for each part of the kayak cart.
Step 4: Assemble Everything & Check Your Work
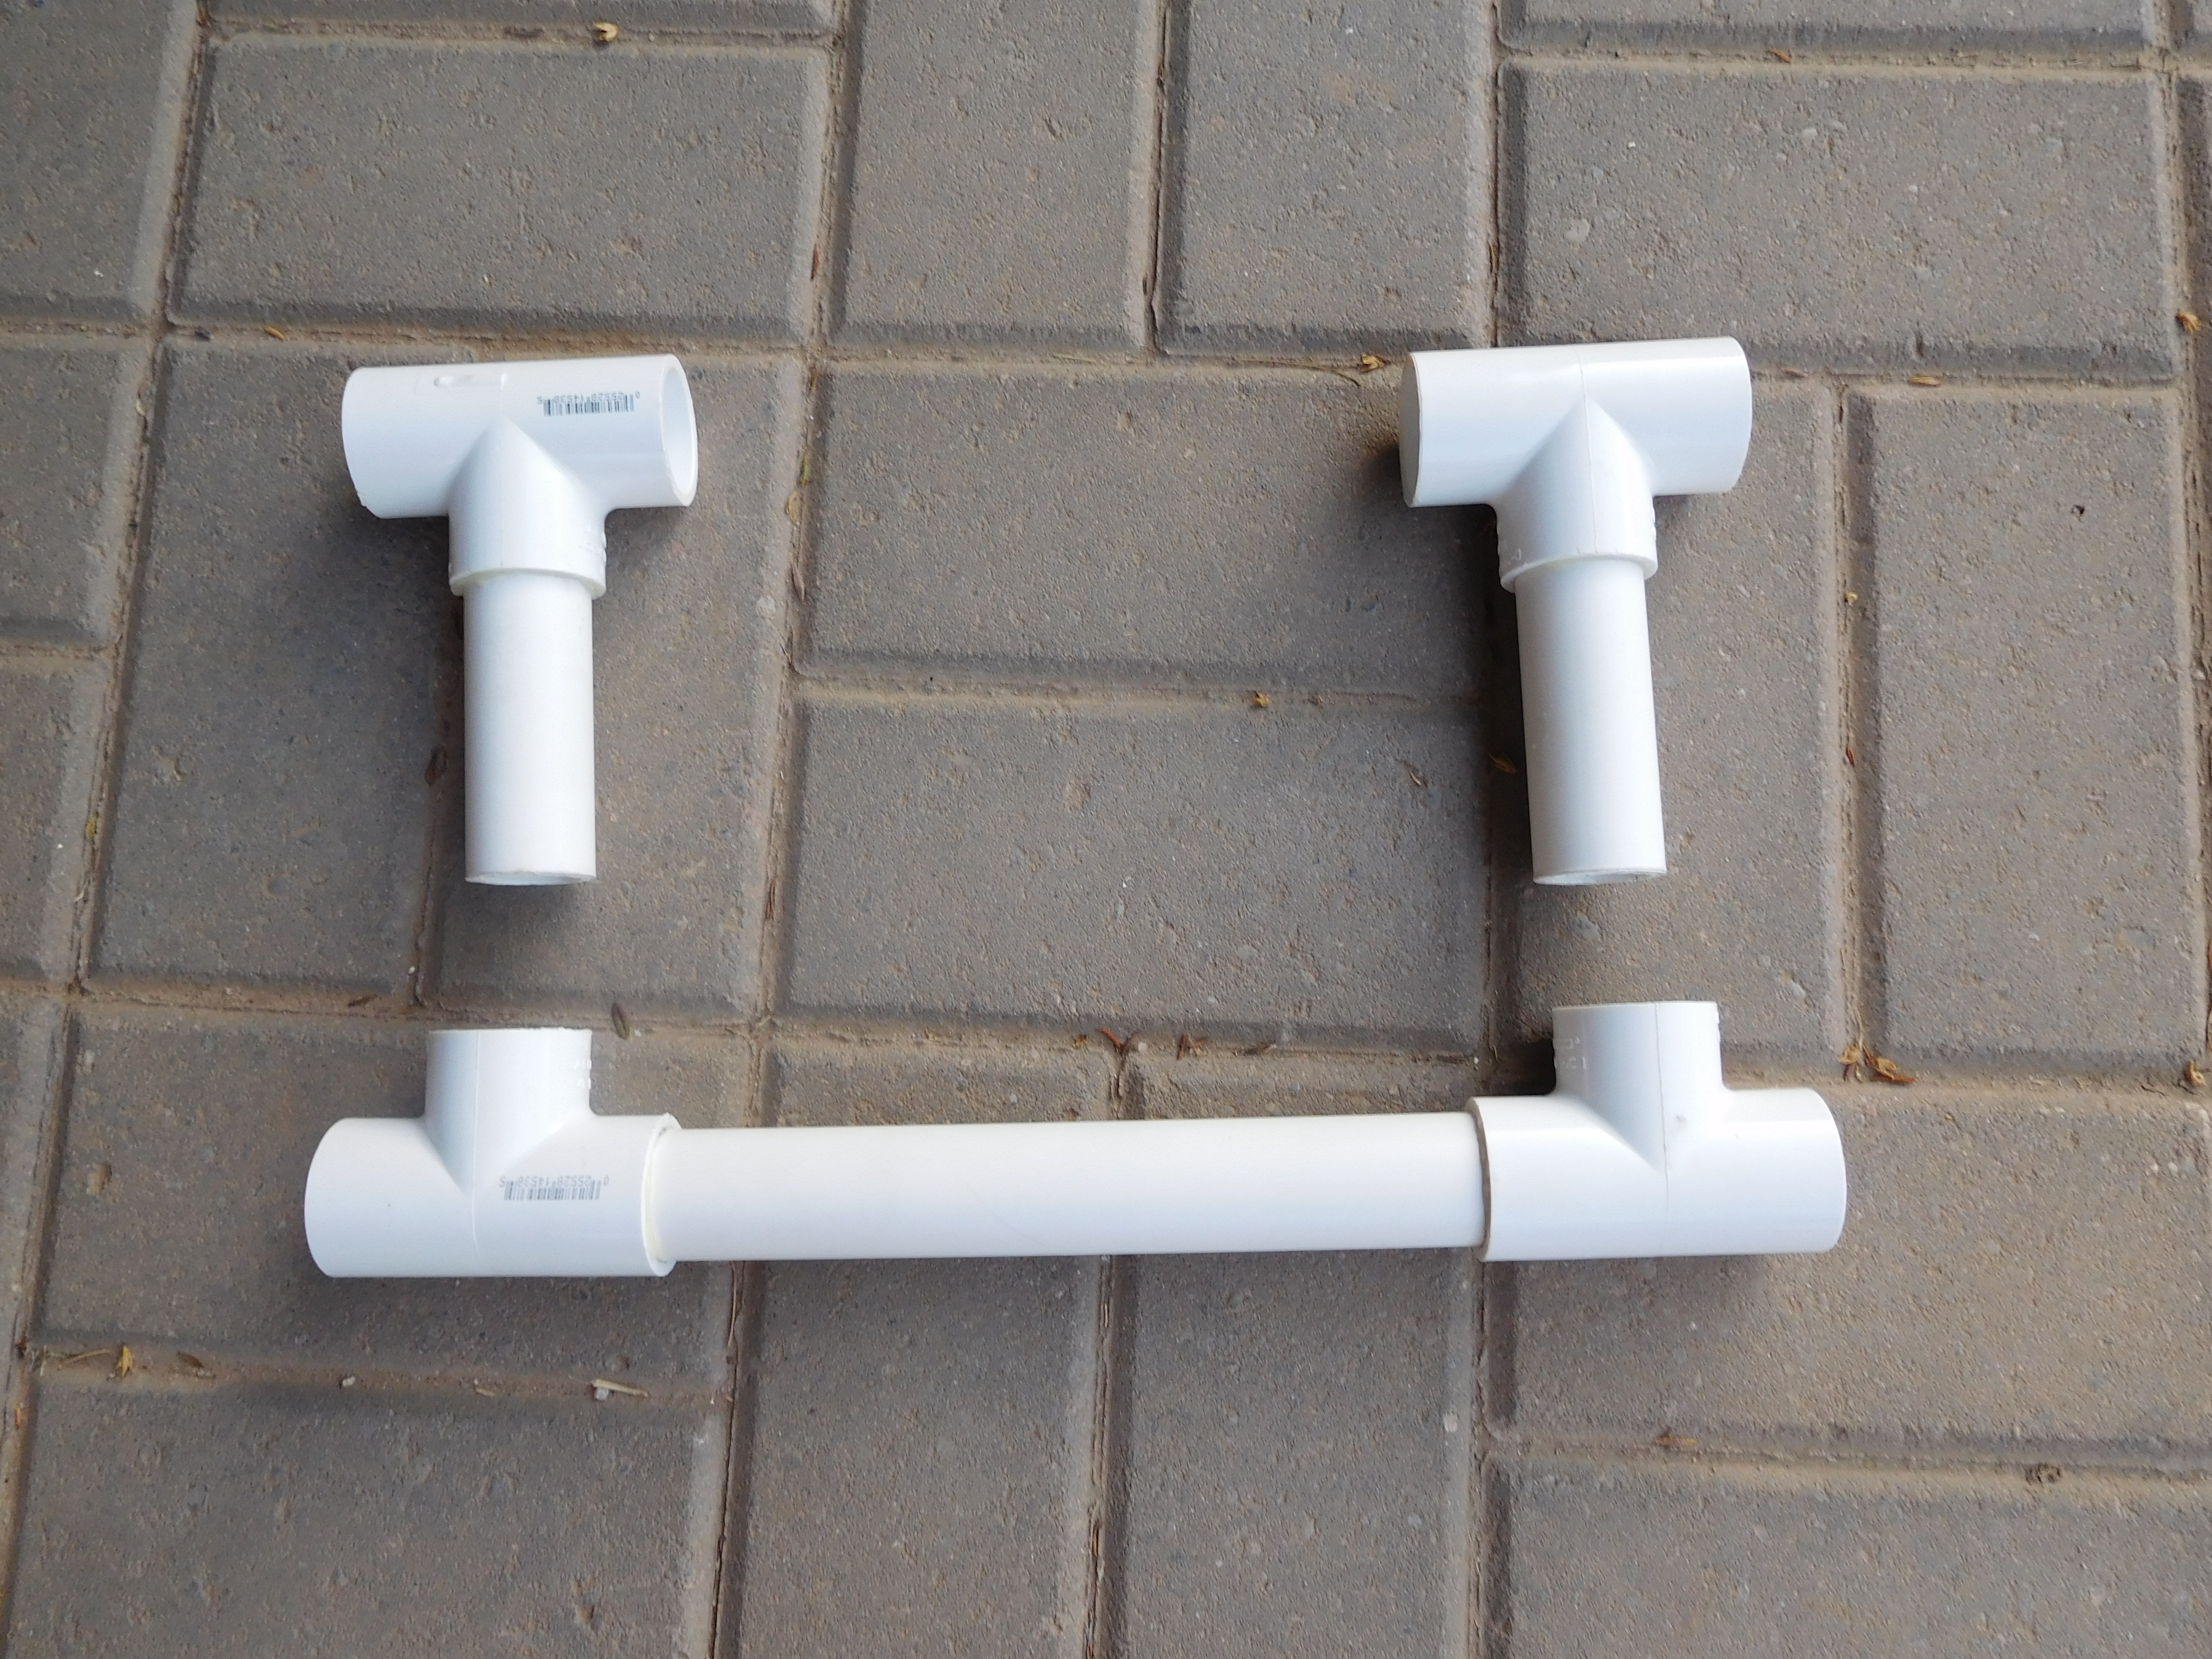
Make sure that everything fits together and that it will fit your kayak. Right now is a good time to practice your strategy for getting the tee connectors into their perfect right angles.
My strategy was to connect the center beam to the bottom tee connectors and push both of the tee connectors to lay flat on the ground. Then, I inserted the upright beams into their tee connectors. Finally, I inserted the upright beams into the bottom tee connectors and pressed the top tee connectors into the ground so that they were parallel to each other.
It’s important that you don’t try to fit everything too snugly at this stage. You are about to take it all apart for gluing. Snug at this stage equals a pain in the butt to disconnect the pieces. I learned this factoid in the 20 minutes it took me to yank all of the pieces apart.
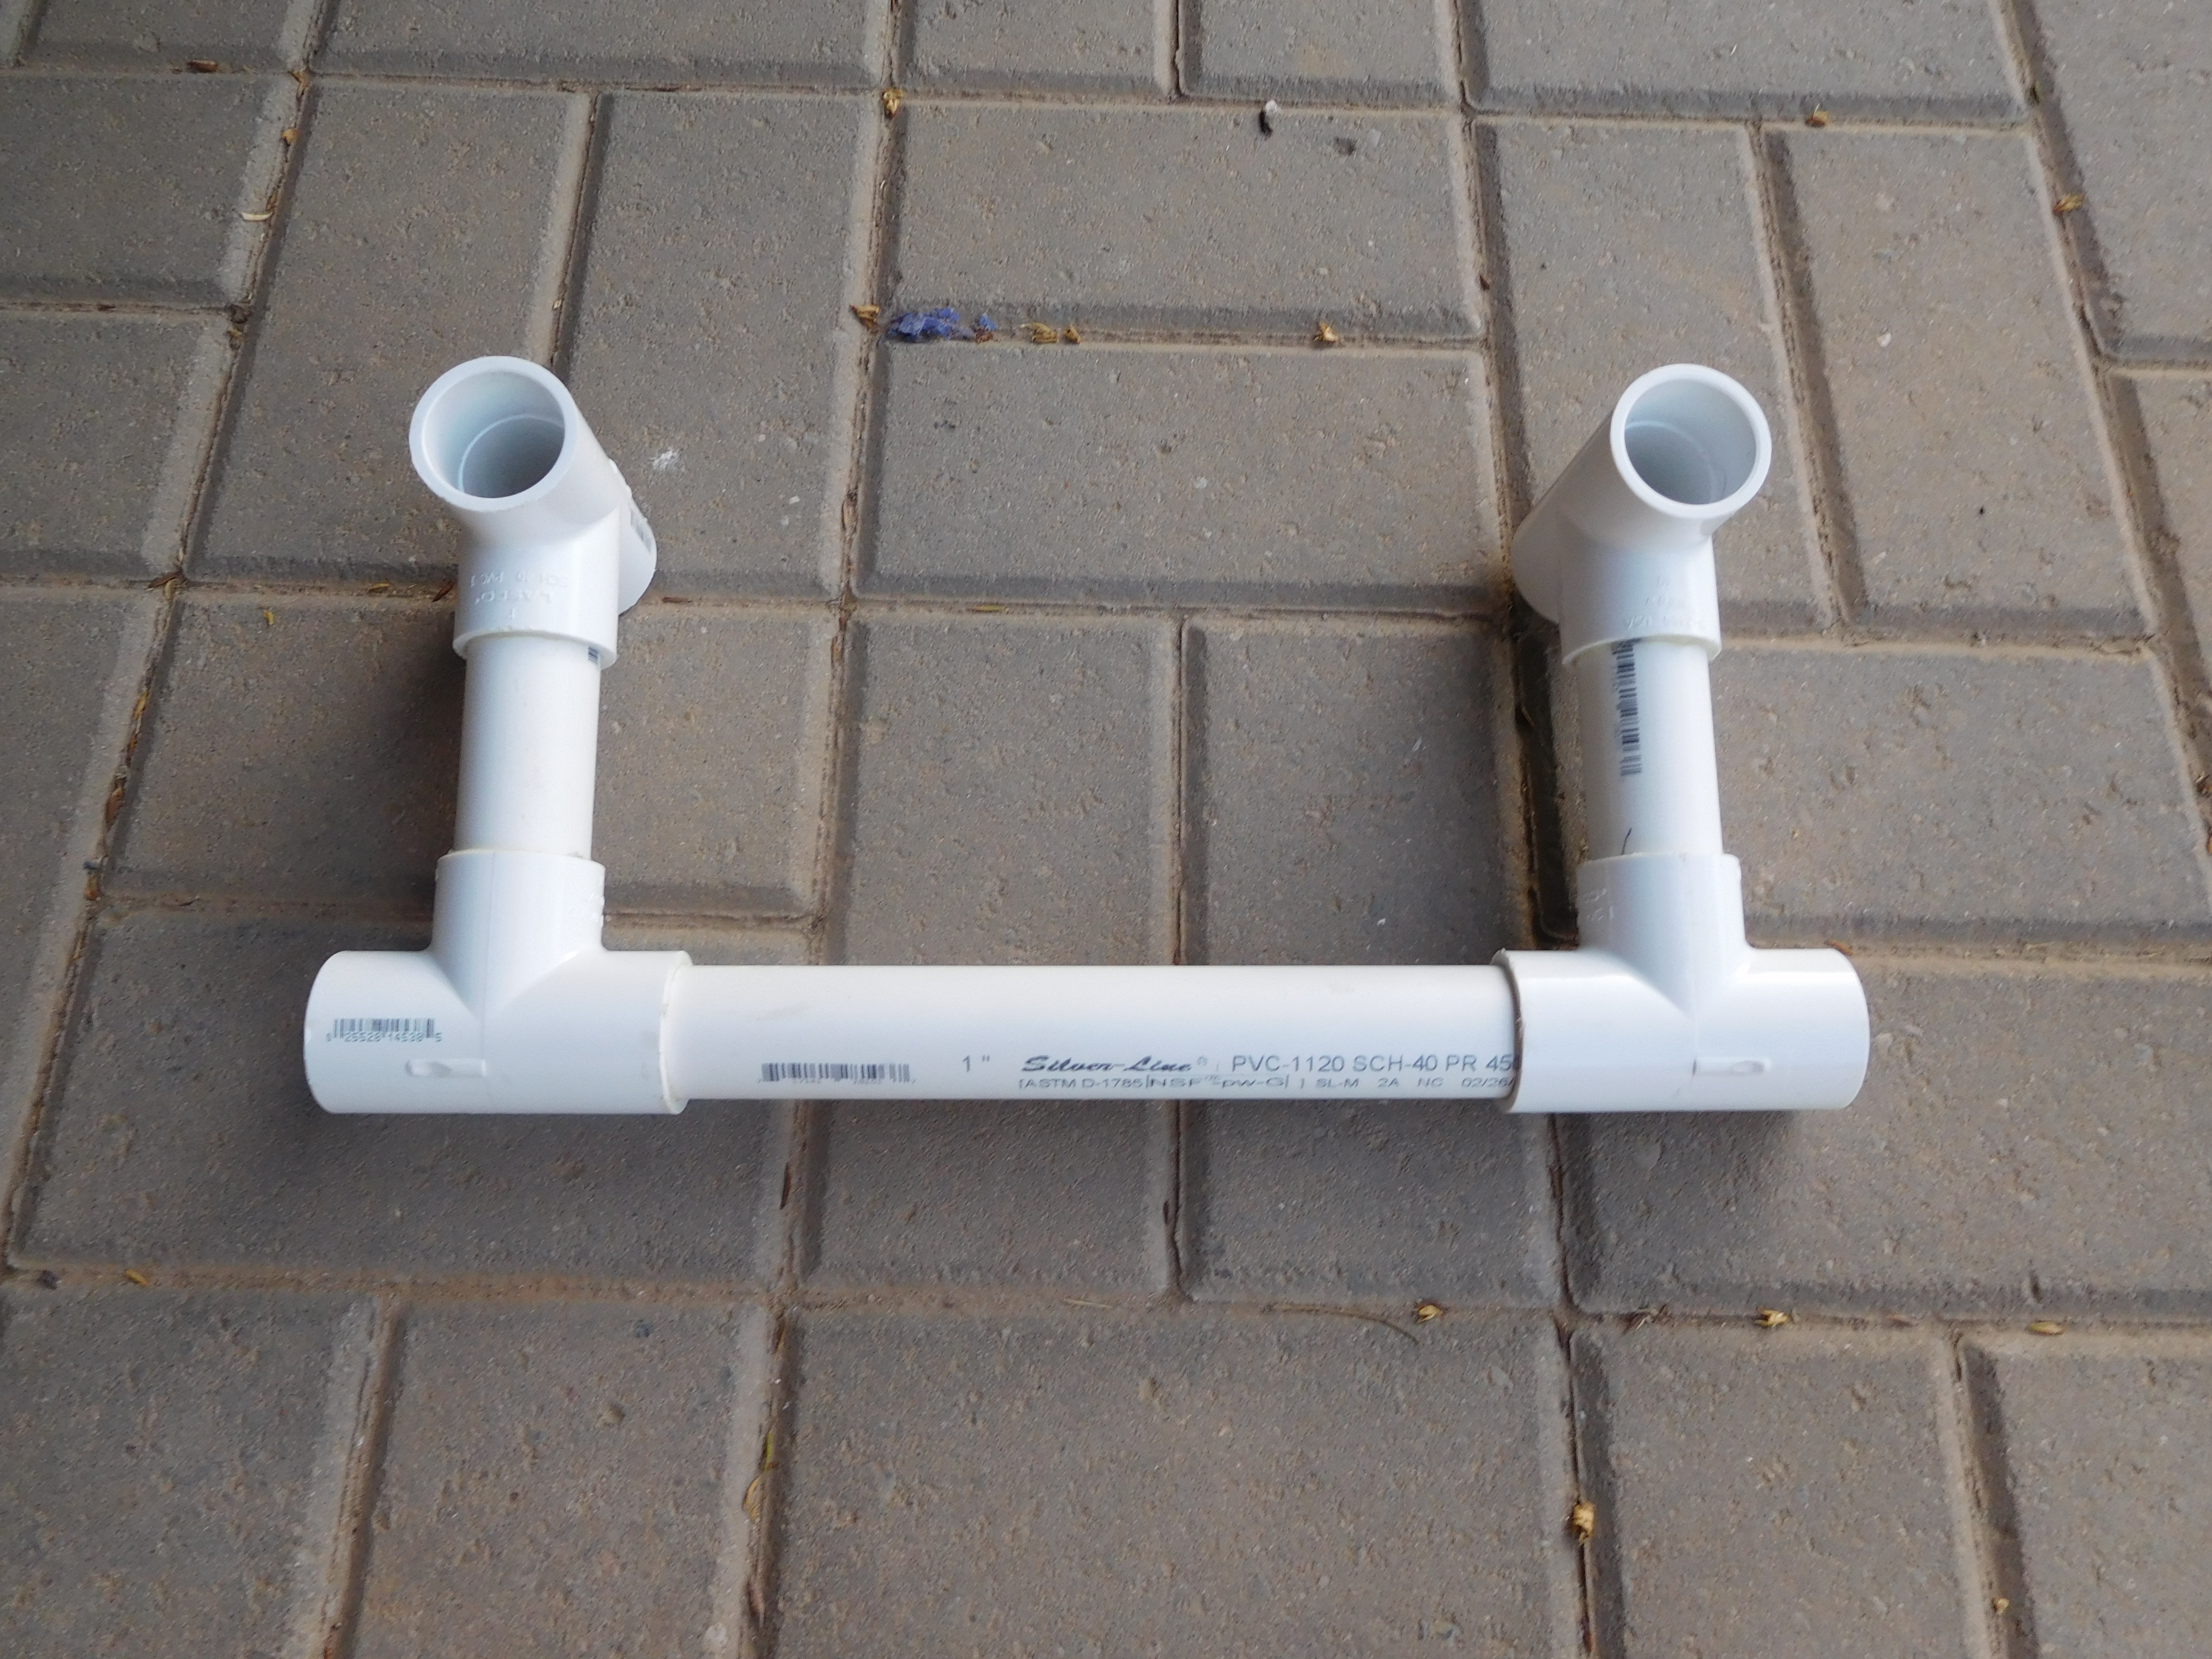
Step 5: Glue & Assemble

Use plastic epoxy or PVC primer and glue to glue your kayak cart together. The pieces seem to fit together even easier with the epoxy on them. If they’re not fitting together well, then use a mallet to give them a good whack.
Step 6: Noodle Time
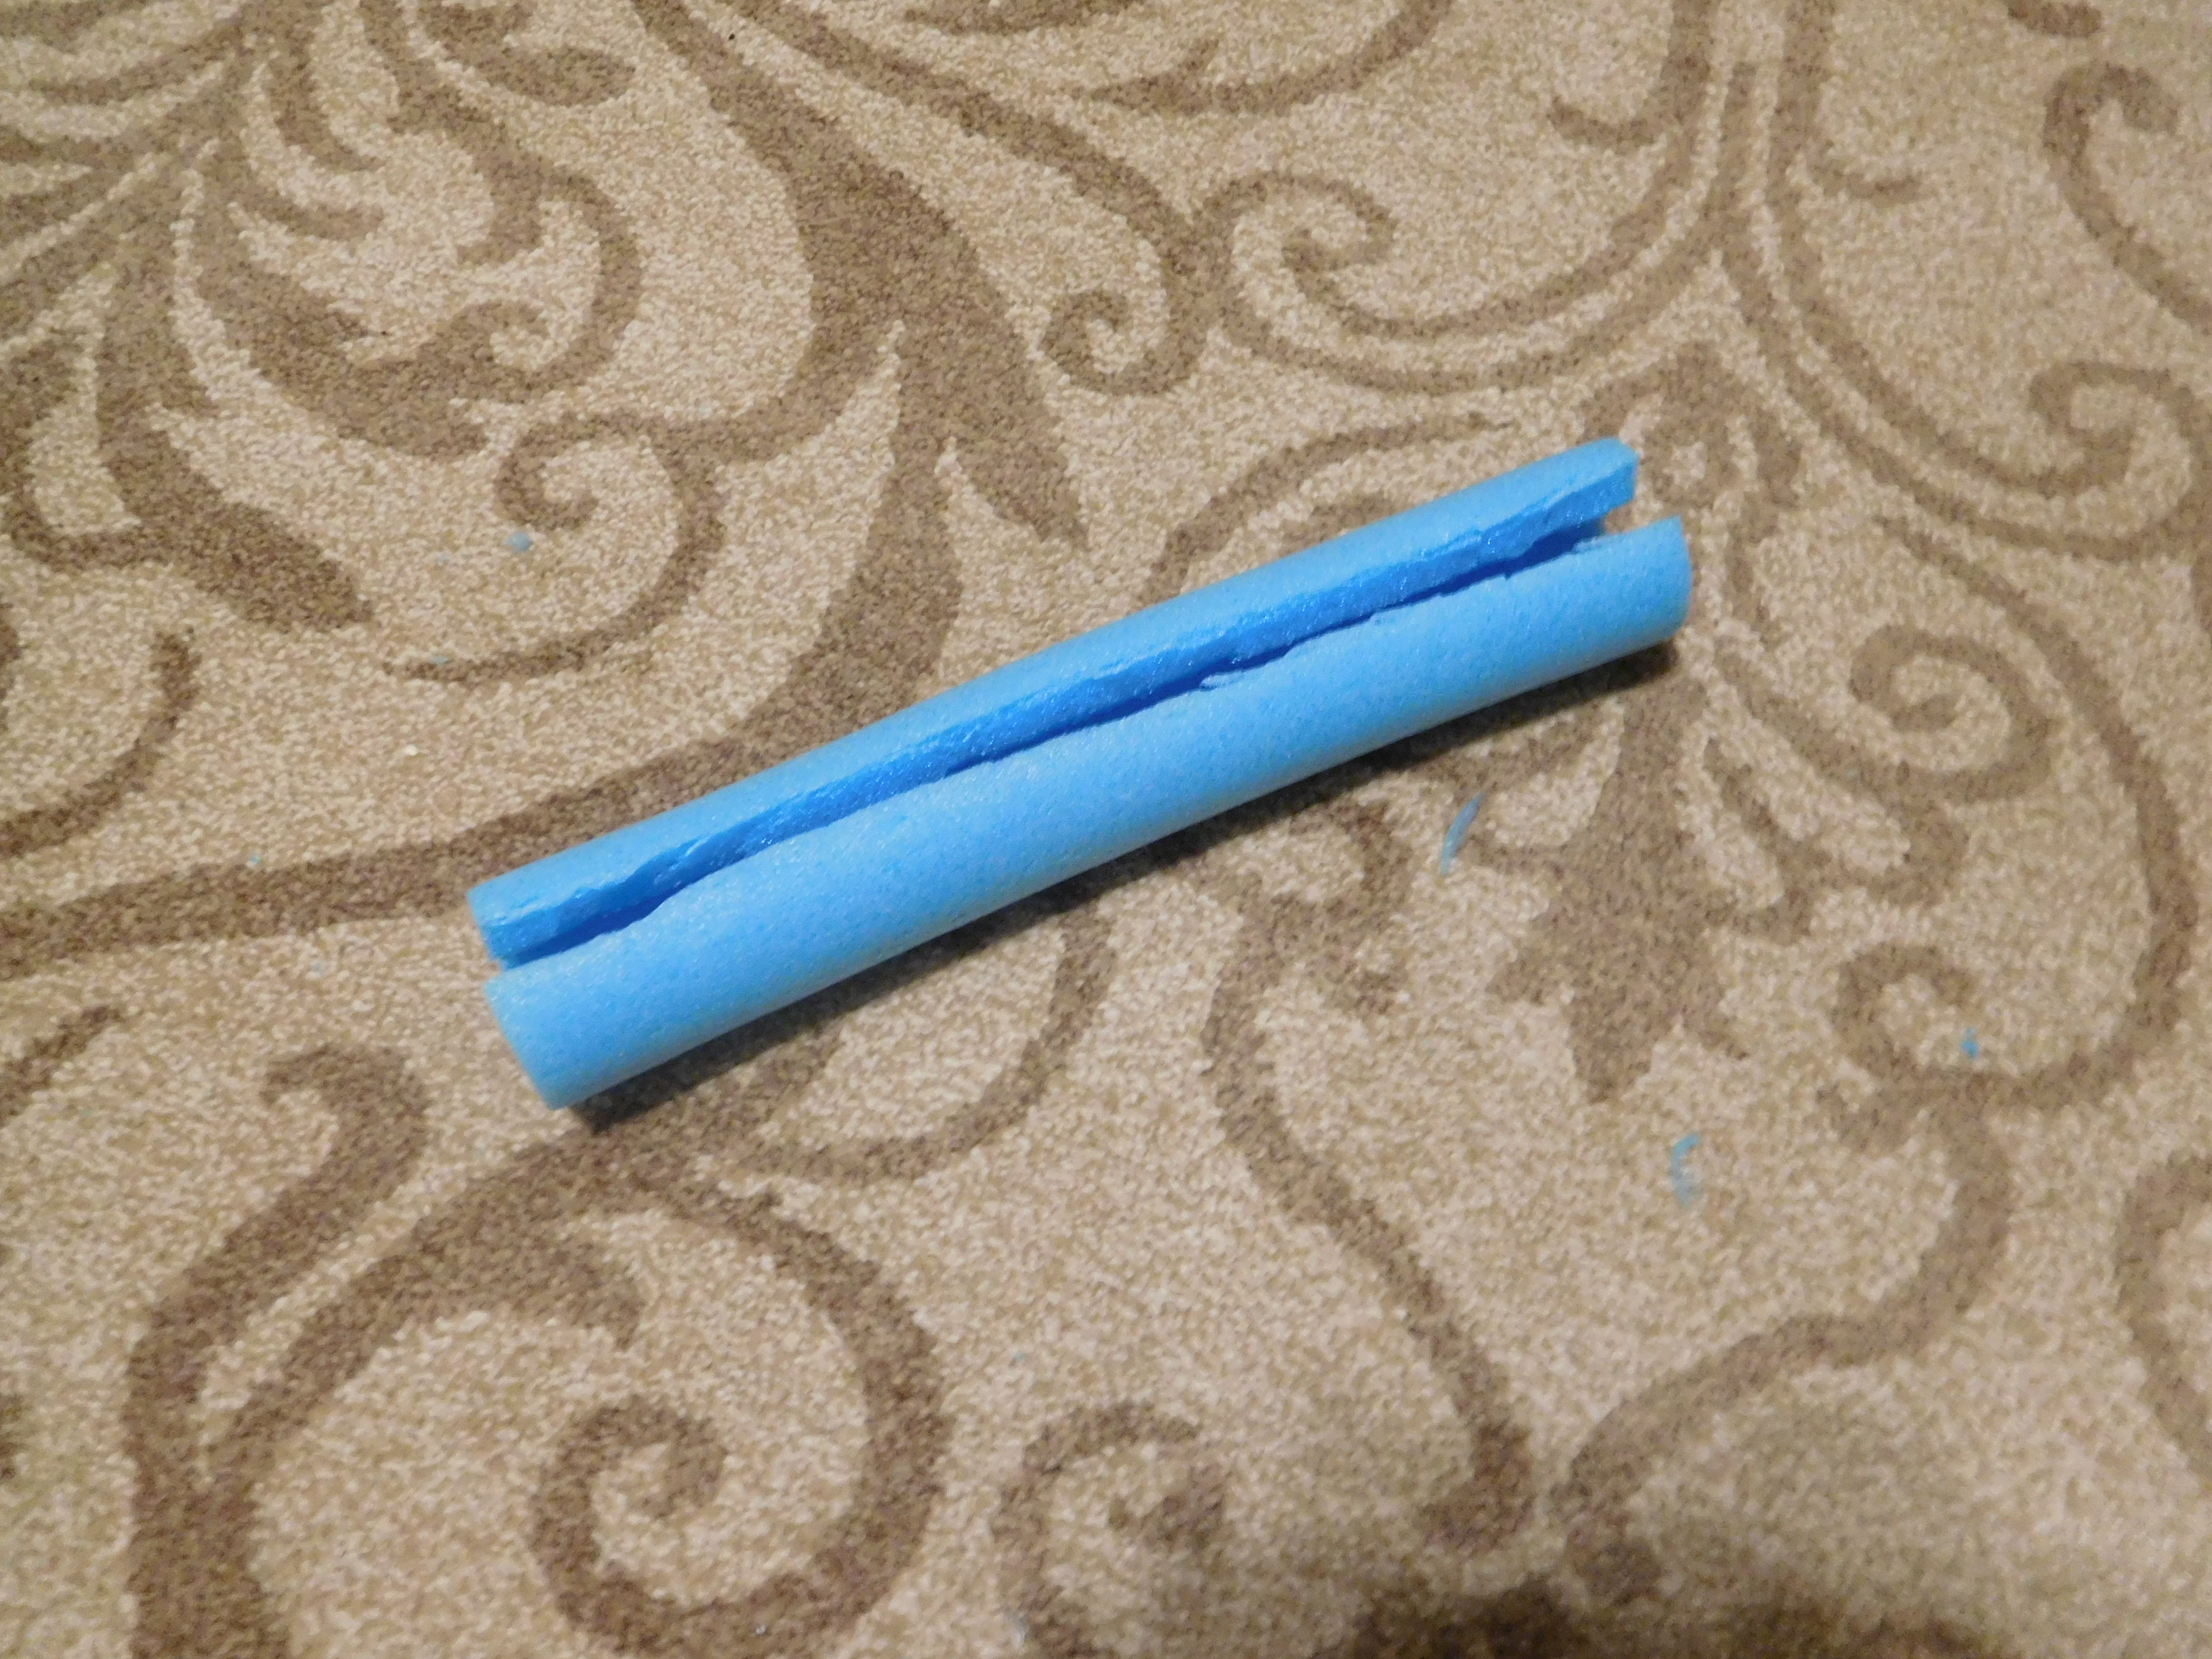
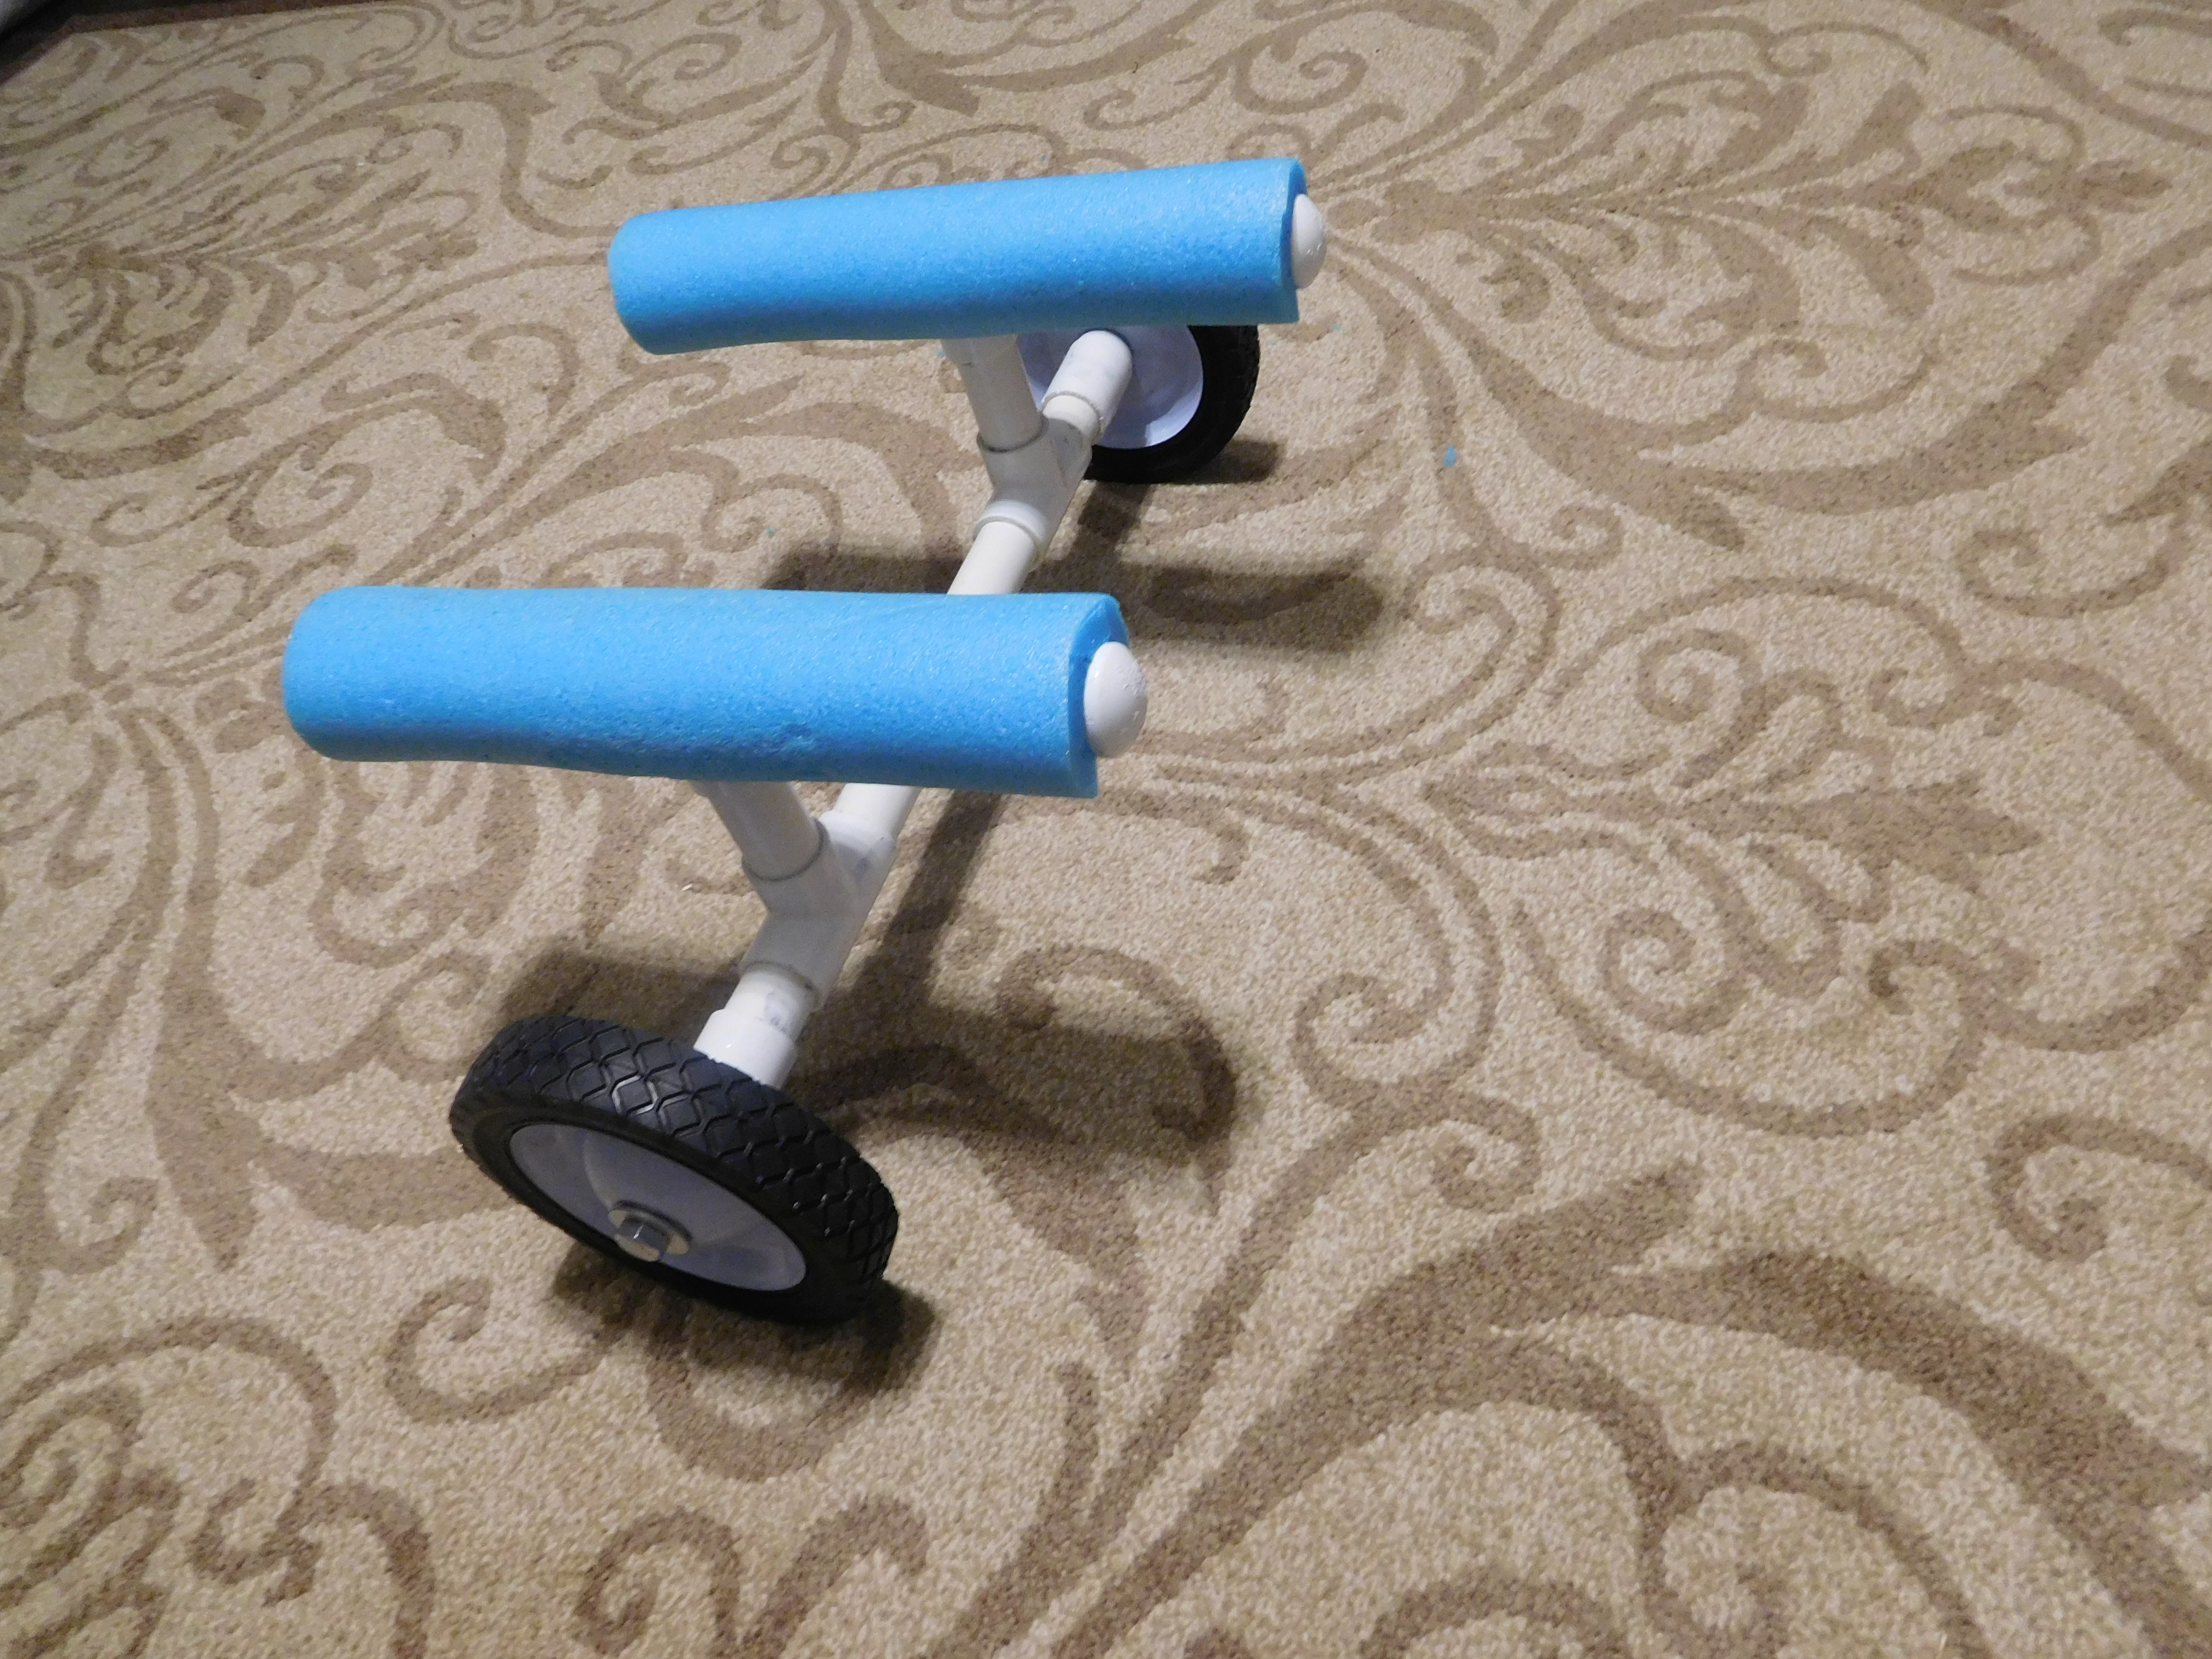
Cut your noodles to fit on the top beams. If the noodle hole is wide enough, then you can slide the noodle pieces over each of the top beams. Otherwise, do what I did. I cut a slit lengthwise on each of the noodle pieces to fit them on the top beams. Then, I used duct tape to secure them.